

Androidアプリ開発のチュートリアルとして、カウントアップアプリを一緒に作っていきましょう。
下記の記事で学習するスキルをチュートリアルにしていますので、こちらも参考にしてください!
完成形はこちら
ButtonとTextViewがあり、ボタンを押すごとに表示されている数値が+1されていくアプリです。
- AndroidStudio 3.5
- Kotlin 1.3.6
プロジェクトの作成
詳細な説明は省略しますので、必要な方はこちらのレッスンを参考にしてください。

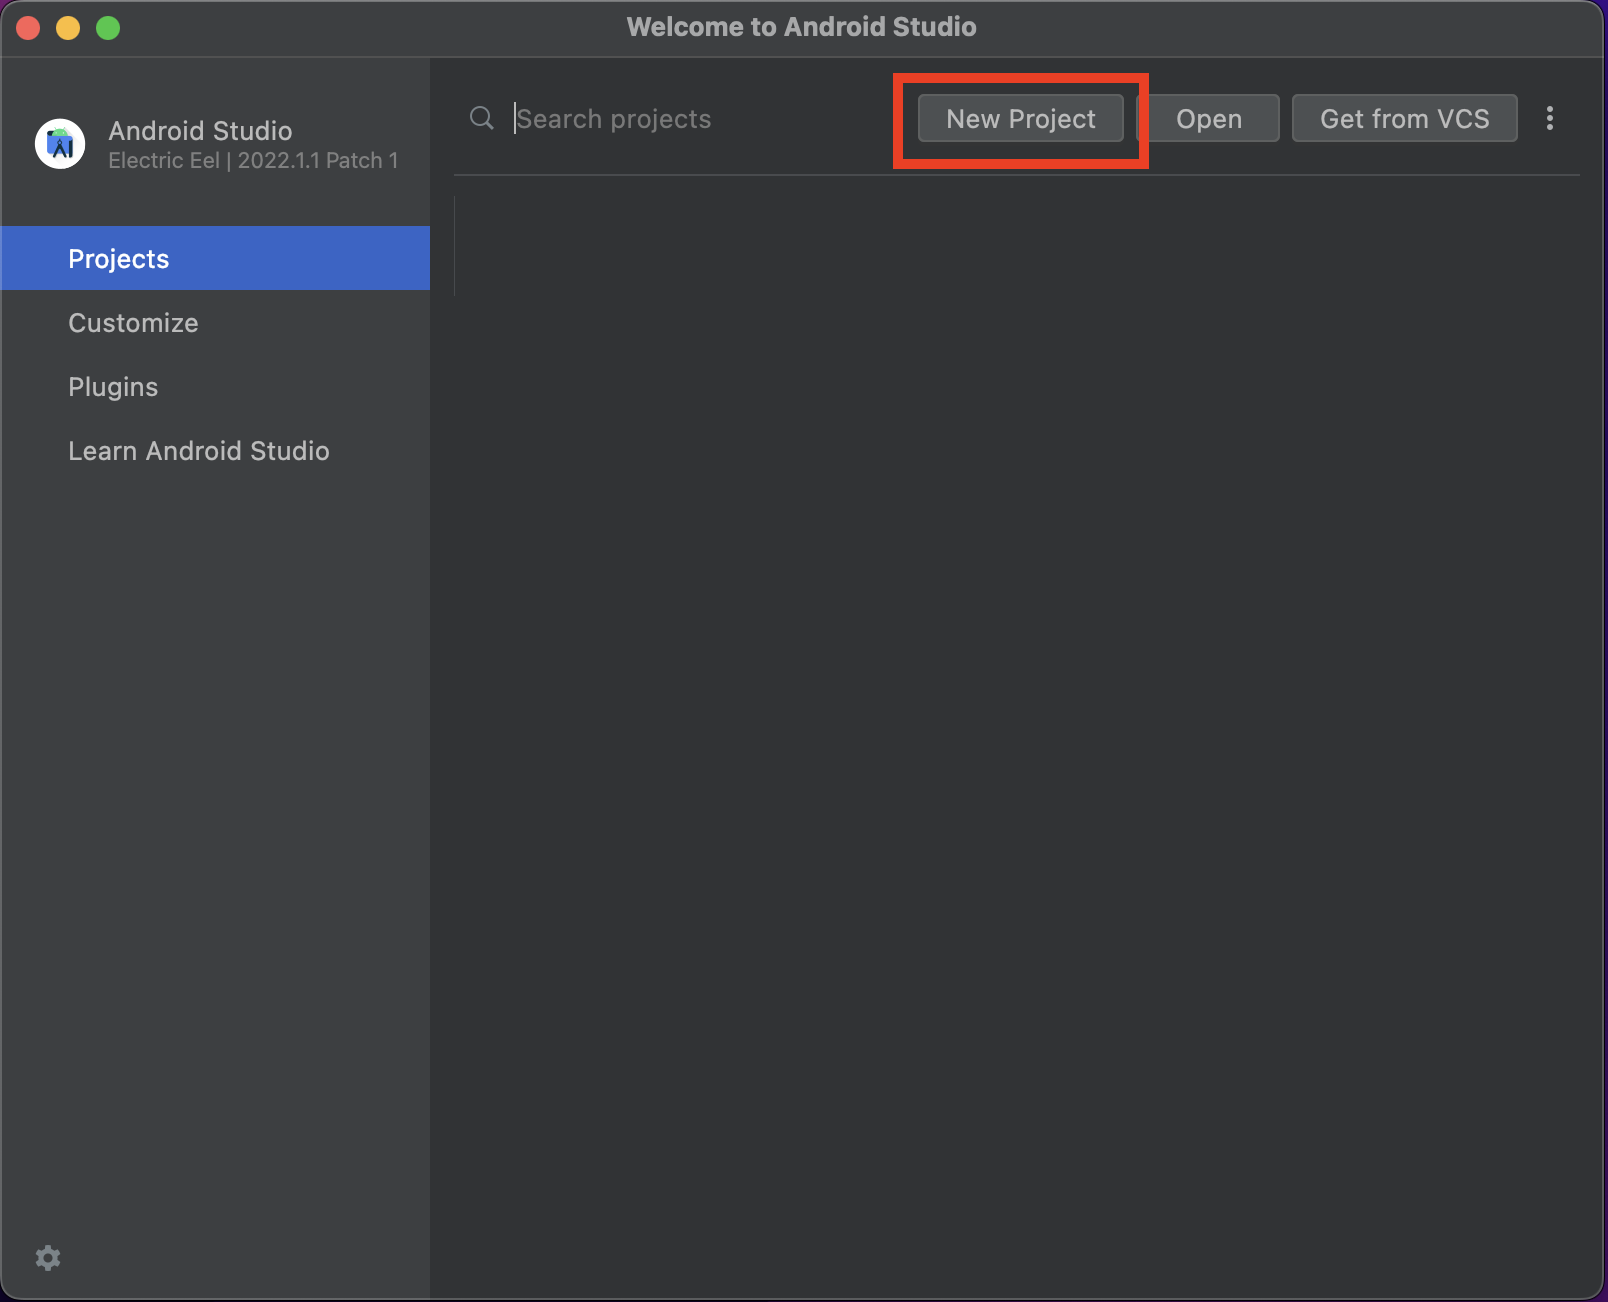
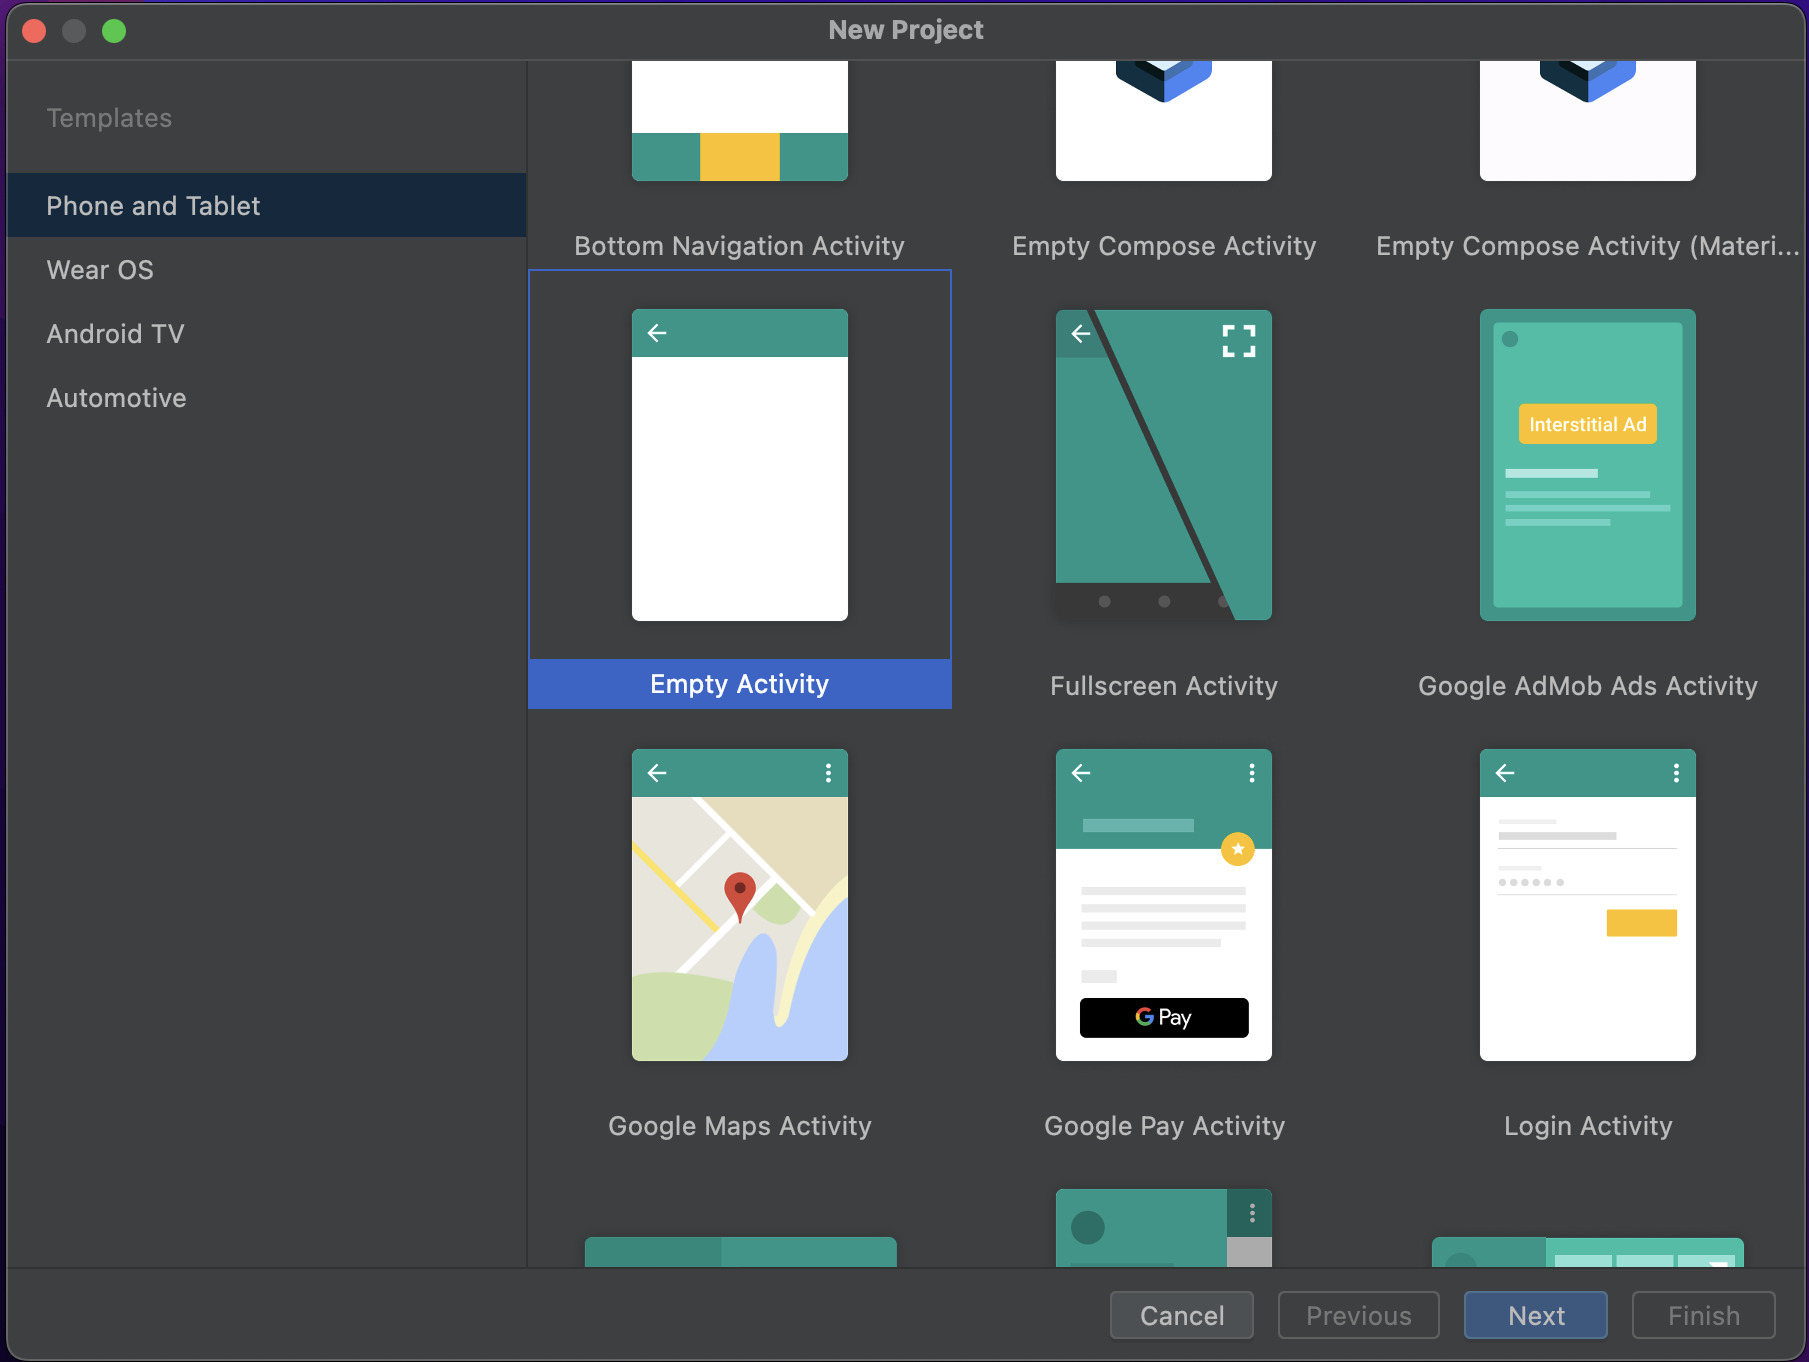
まずはAndroidStudioを起動して New Project を選択してください。
次は Empty Activity を選択してください。
次はアプリ情報の入力です。
アプリ名はなんでも構わないのですが、ここではCountAppとしました。
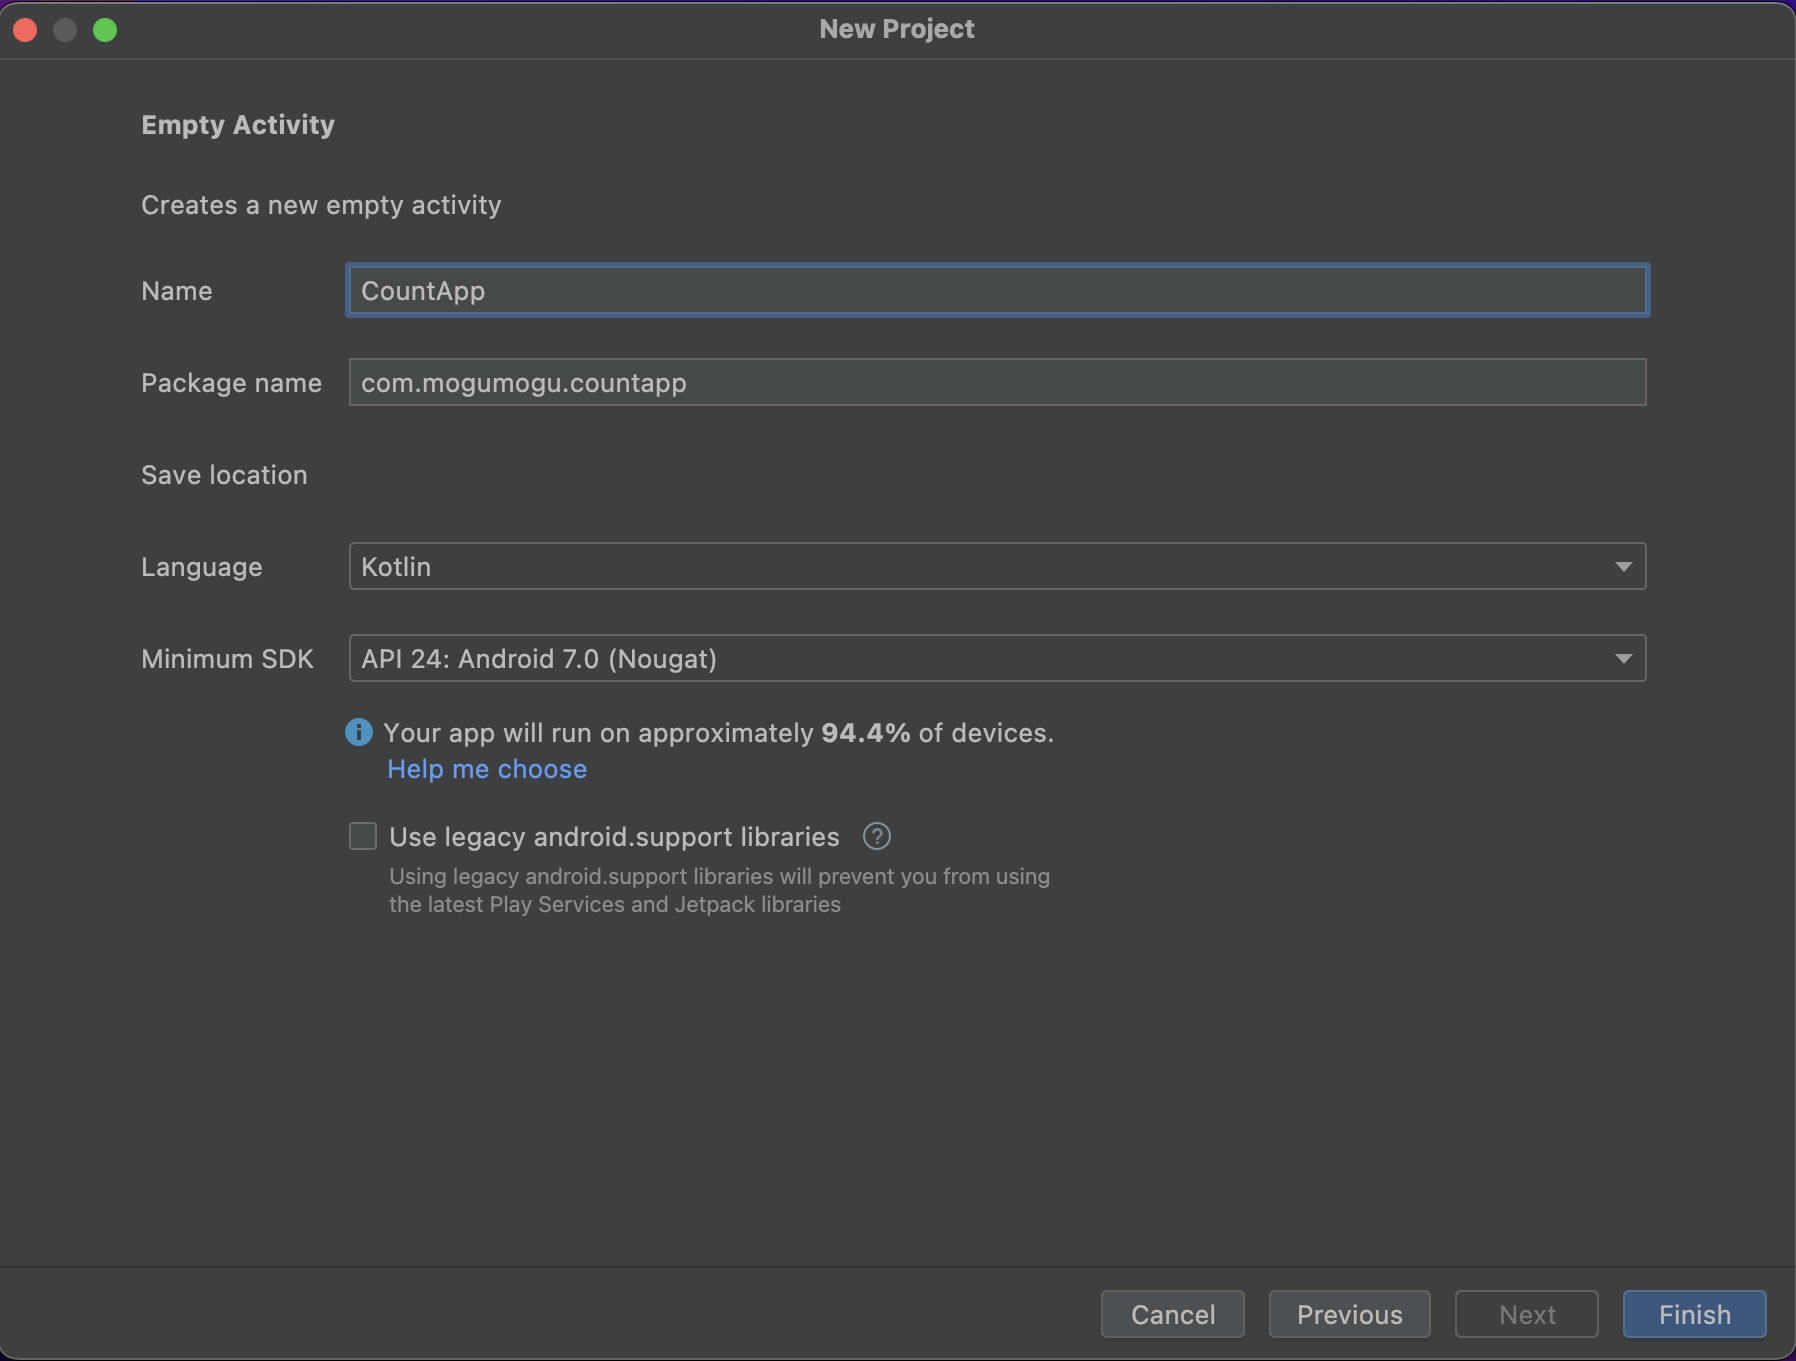
これでプロジェクトの作成は完了です!
次から実装していきましょう。
UI
Viewの配置
まずは activity_main.xml を開いてください。
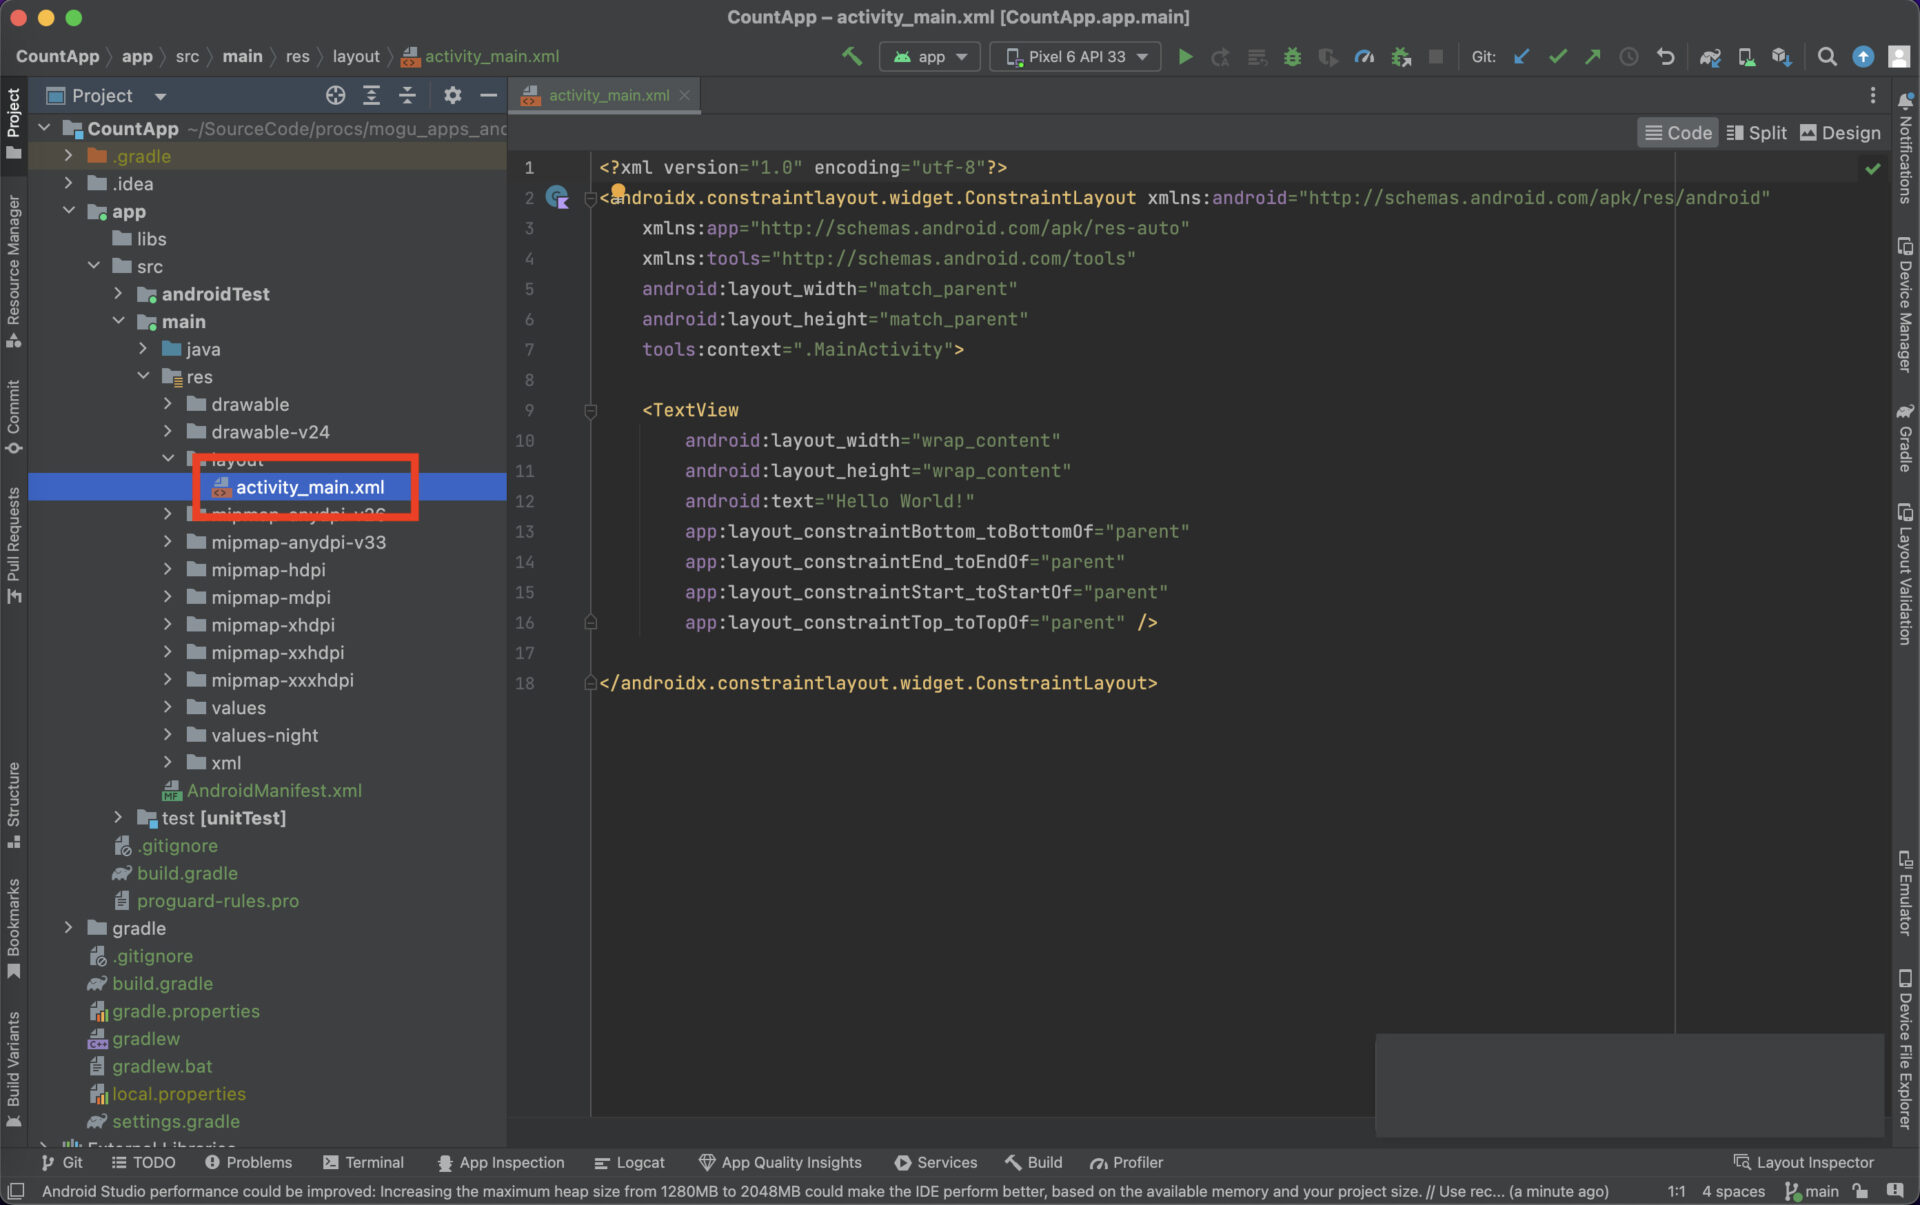
デフォルトで TextView が配置されていると思いますが、次のように変更してみましょう。
<?xml version="1.0" encoding="utf-8"?>
<androidx.constraintlayout.widget.ConstraintLayout xmlns:android="http://schemas.android.com/apk/res/android"
    xmlns:app="http://schemas.android.com/apk/res-auto"
    xmlns:tools="http://schemas.android.com/tools"
    android:layout_width="match_parent"
    android:layout_height="match_parent"
    tools:context=".MainActivity">

    <TextView
        android:id="@+id/count_text"
        android:layout_width="wrap_content"
        android:layout_height="wrap_content"
        android:text="0"
        app:layout_constraintBottom_toBottomOf="parent"
        app:layout_constraintLeft_toLeftOf="parent"
        app:layout_constraintRight_toRightOf="parent"
        app:layout_constraintTop_toTopOf="parent" />

    <Button
        android:id="@+id/count_button"
        android:layout_width="wrap_content"
        android:layout_height="wrap_content"
        android:text="カウントアップ"
        app:layout_constraintLeft_toLeftOf="parent"
        app:layout_constraintRight_toRightOf="parent"
        app:layout_constraintTop_toBottomOf="@+id/count_text" />

</androidx.constraintlayout.widget.ConstraintLayout>
1つ1つ説明していきます。
TextViewにidを追加
これでどの TextView かを判別することができます。
さらに初期値として text を 0 に変更しました。
Buttonを追加
大きな変更として Button を追加しました。
この Button を押すことでカウントが1つ1つ上がっていくような作りにしていきます。
1つ重要な点としてlayout_constraintTop_toBottomOfというのがあります。
これはConstraintLayoutの中で使える属性です。
読んだ通りではあるのですが「Topを指定したView(今回は count_text)の Bottomに配置する」という意味になります。
これによって、どんな端末でも相対的に配置することが可能です。
それではここでビルドしてみましょう。
このようになればOKです!
ちゃんと TextViewの下に Buttonが配置されていますね。
クリックイベント
次にButtonを押した時のイベントを受け取るようにしましょう。
まずは MainActivity.kt を開いてください。
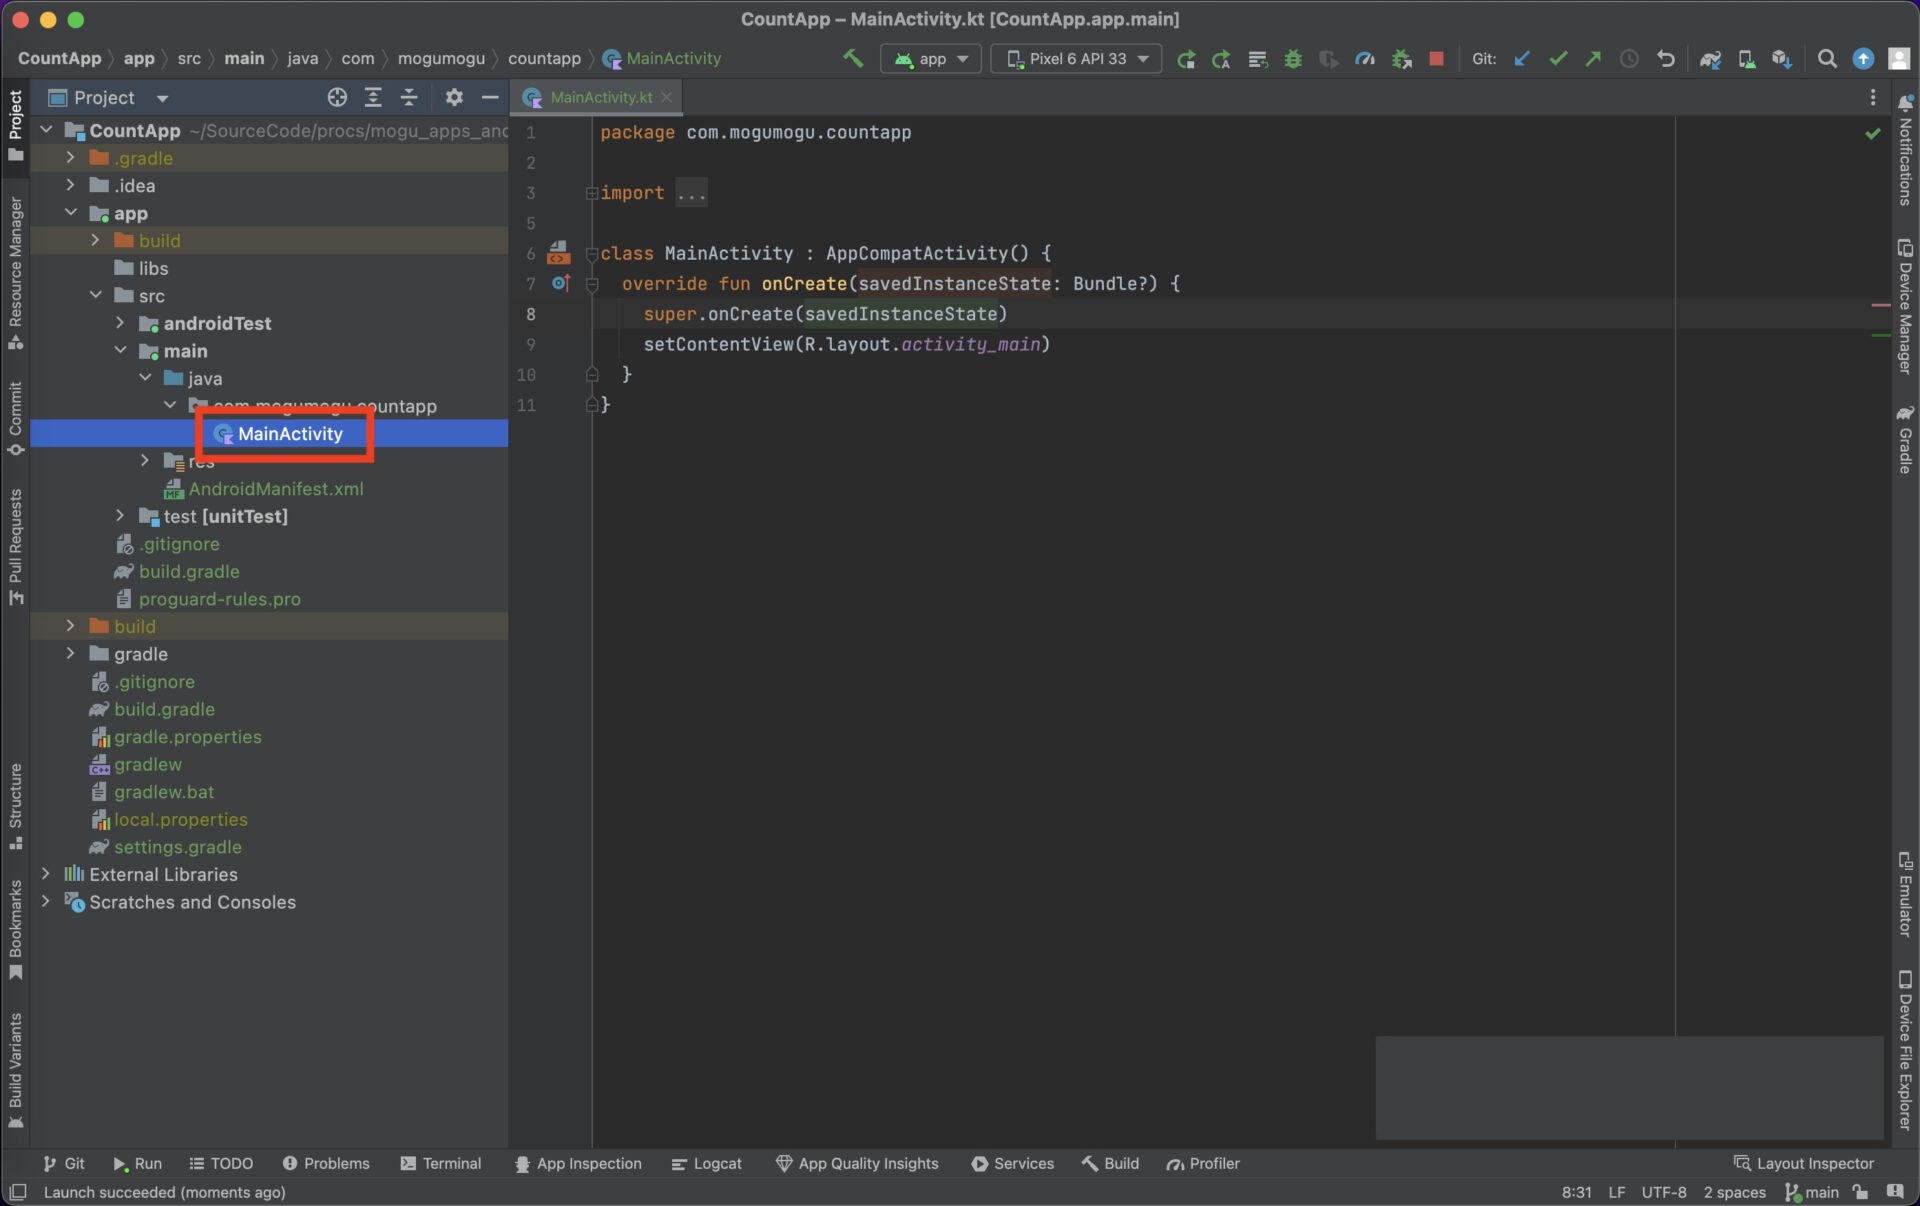
デフォルトで実装されている箇所もありますが、次のように変更しましょう。
import androidx.appcompat.app.AppCompatActivity
import android.os.Bundle
import android.util.Log
import android.widget.Button

class MainActivity : AppCompatActivity() {

    override fun onCreate(savedInstanceState: Bundle?) {
        super.onCreate(savedInstanceState)
        setContentView(R.layout.activity_main)
        val button = findViewById<Button>(R.id.count_button) // Buttonを取得
        // ボタンイベントを通知
        button.setOnClickListener {
            Log.d("MainActivity", "Button Click!") // ボタンが押されるごとにログ出力
        }
    }
}
1つ1つ説明していきます。
まずは findViewById() メソッドによって Button を取得しています。
引数に id を指定していますが、これは先ほどxmlファイルで修正した時に指定した id です。
次に setOnClickListener() を使用してボタンイベントを受け取るようにしています。
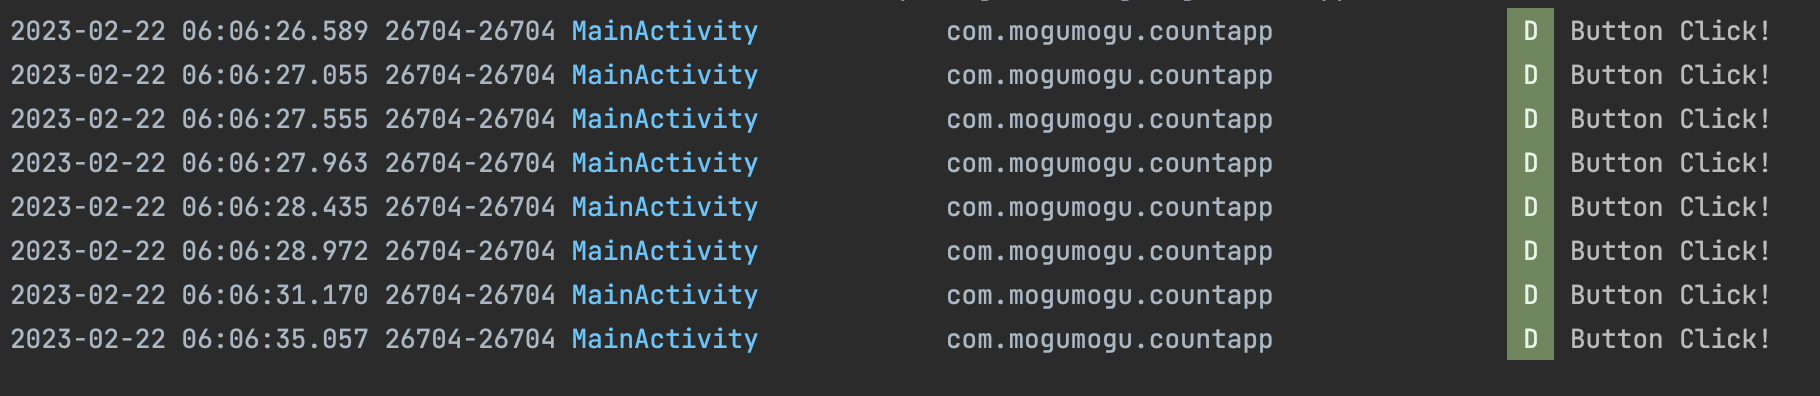
その中でログ出力するように実装してみましょう。
ここでビルドをして、ボタンを押すごとにログが出力されればOKです!
カウントアップのロジック
次はカウントアップのロジックを実装していきましょう。
プロパティの用意
まずはプロパティを用意して、ボタンを押すごとに+1されるようなロジックを作っていきましょう。
import androidx.appcompat.app.AppCompatActivity
import android.os.Bundle
import android.widget.Button

class MainActivity : AppCompatActivity() {
    private var count: Int = 0 // プロパティを用意

    override fun onCreate(savedInstanceState: Bundle?) {
        super.onCreate(savedInstanceState)
        setContentView(R.layout.activity_main)
        val button = findViewById<Button>(R.id.count_button)
        button.setOnClickListener {
            count += 1 // ここで+1する
        }
    }
}
ここでは count というプロパティを MainActivity に定義してボタンを押すごとに+1するようにしています。
TextViewに反映
次はカウントアップされた count を TextView に表示しましょう。
import androidx.appcompat.app.AppCompatActivity
import android.os.Bundle
import android.widget.Button
import android.widget.TextView

class MainActivity : AppCompatActivity() {
    private var count: Int = 0

    override fun onCreate(savedInstanceState: Bundle?) {
        super.onCreate(savedInstanceState)
        setContentView(R.layout.activity_main)
        val button = findViewById<Button>(R.id.count_button)
        val textView = findViewById<TextView>(R.id.count_text) // TextViewを取得
        button.setOnClickListener {
            count += 1
            textView.text = count.toString() // textにcountを代入
        }
    }
}
Button の時と同じように findViewById() 関数を使用して TextView を取得します。
TextView には text というプロパティがあるのでそれに+1された count を代入していきます。
そうすることでボタンを押すごとに TextView に表示されている数字が上がっていきます。
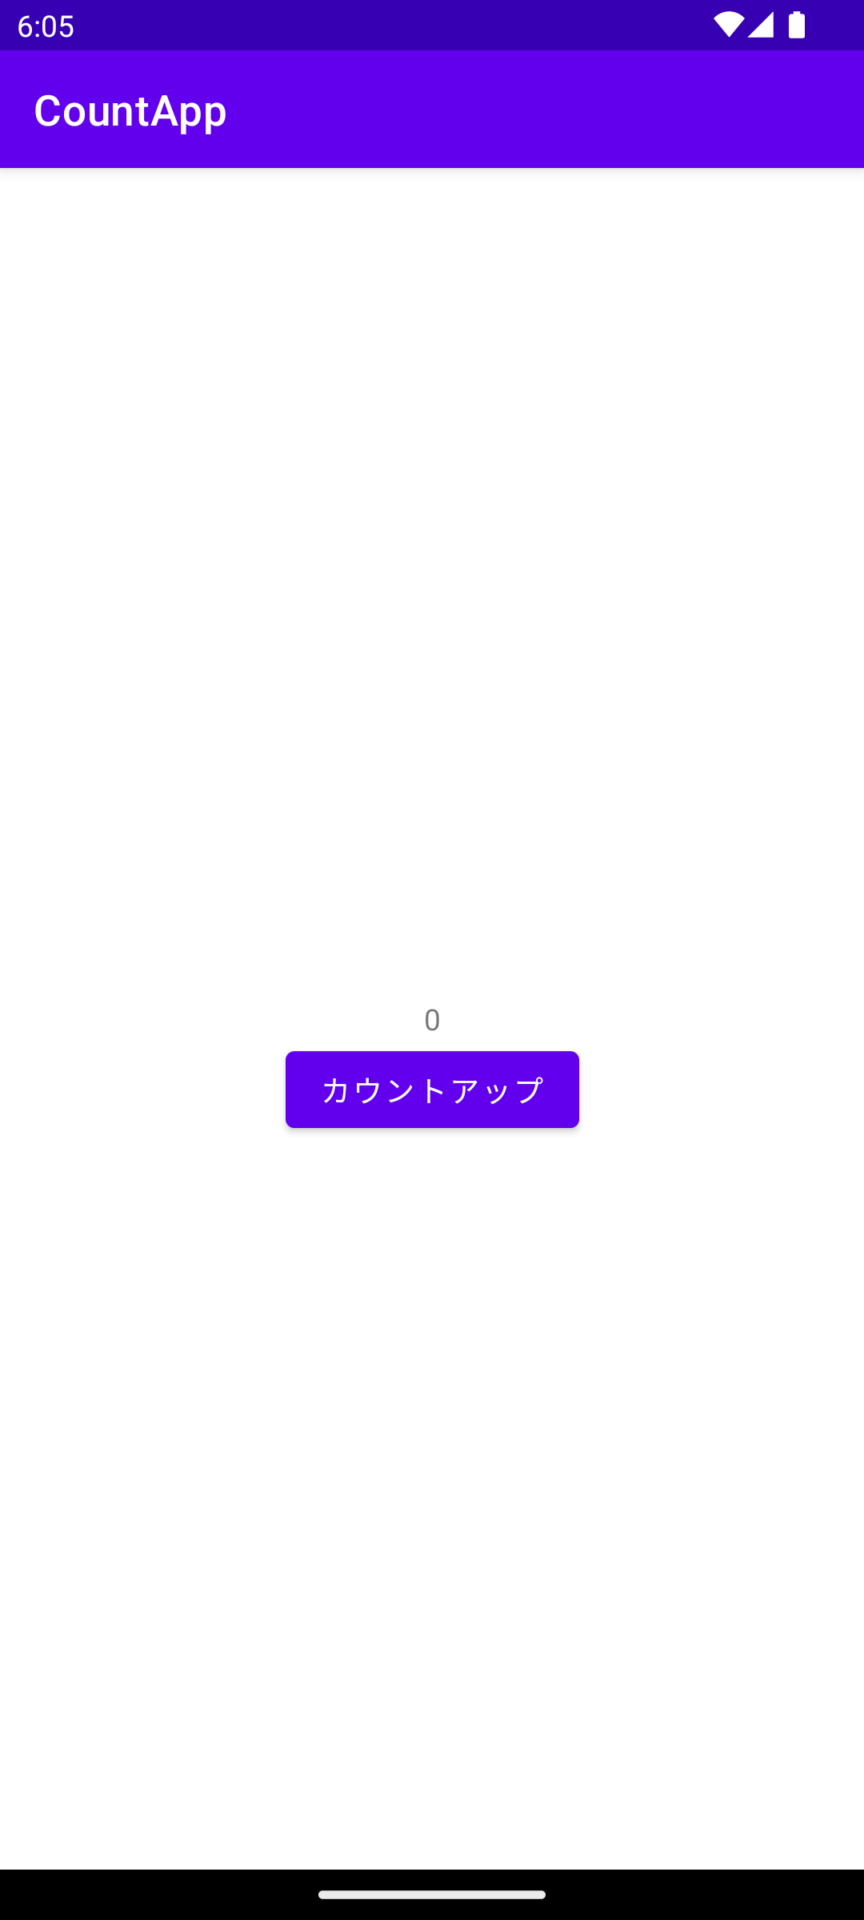
ここでビルドしてみましょう。
このような動きをすればOKです!
まとめ
お疲れ様でした!
Androidアプリ開発UIチュートリアルのカウントアップを作成していきました。
ButtonやTextViewの配置やクリックイベントがわかるようになると、
Androidアプリ開発も理解していけるので復習しつつ何度か作成してみてください。


[…] 【UIチュートリアル】カウントアップアプリを作るAndroidアプリ開発のUIスキルを集めて、カウントアップアプリ作成のチュートリアルにしました。 UIを作れるようになりたい方におすす […]