

iOSアプリでよく利用するUIAlertControllerの使い方について説明します。
プロジェクト作成
準備としてまずはiOSプロジェクトを作成しましょう。
プロジェクト作成の詳細はこちらにあるので必要であれば、参考にしてください!
UIAlertController表示の導線作り
まずは UIAlertController を表示するための導線を作っていきましょう。
今回はボタンを押した時に UIAlertController を表示するようにしたいと思います。
そのためまずはボタンを配置していきますが、詳細な UIButton の使い方については別の記事で解説しています。参考にしてみてください。

ボタンアクションを定義
まずは UIButton をストーリーボード上に配置します。
今回はButtonのタイトルを「Alertを表示する」としておきました。
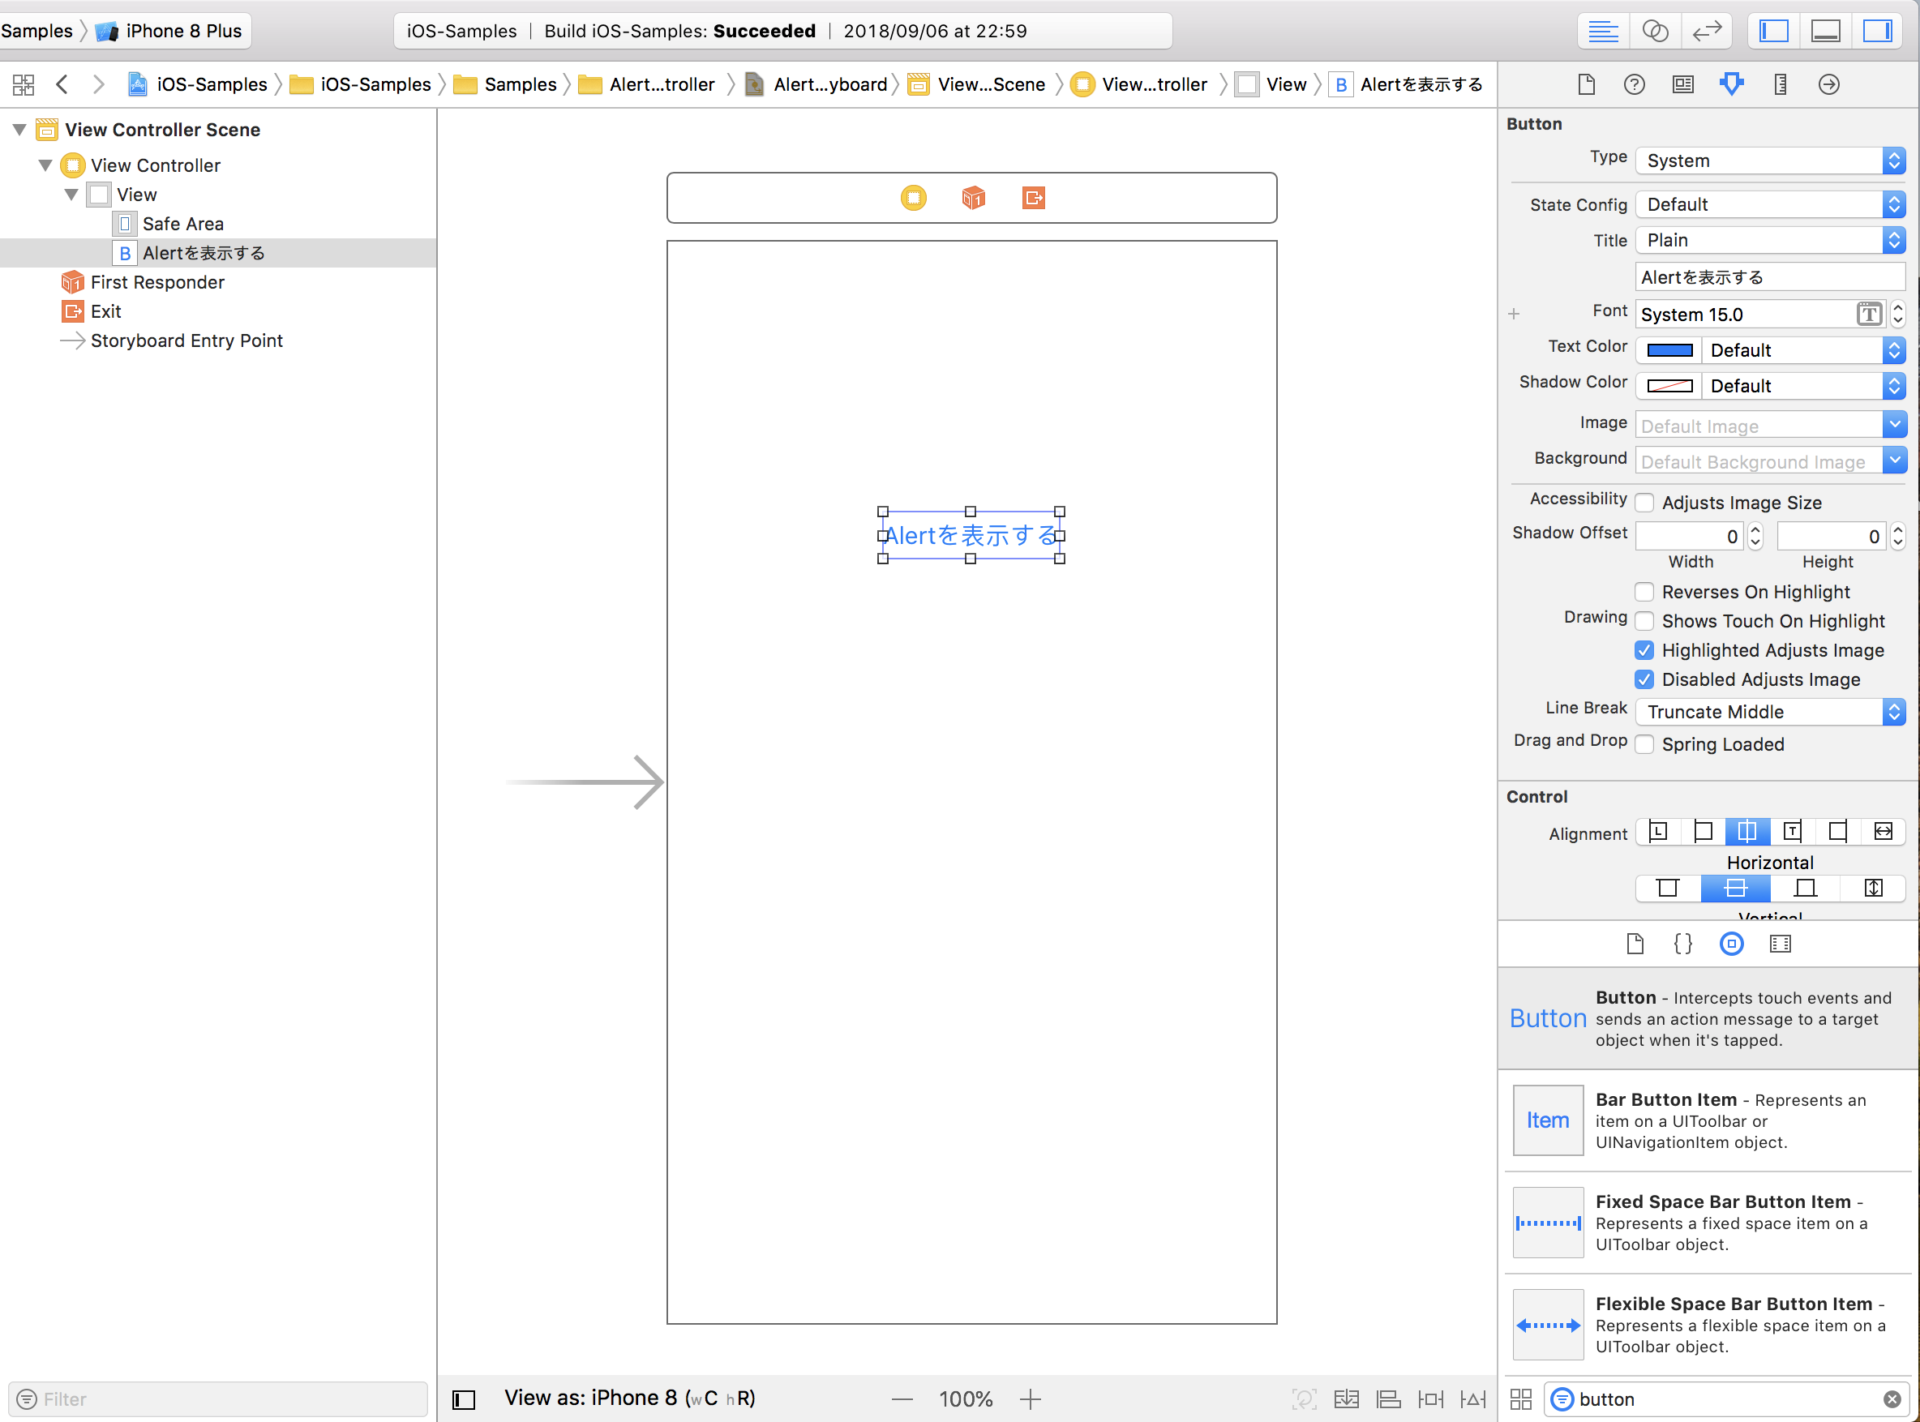
その次はアクションを定義するために UIButton に対してCtrl+ドラッグで ViewController へと引っ張っていきます。
今回はボタンアクションの関数名を tappedButton としました。
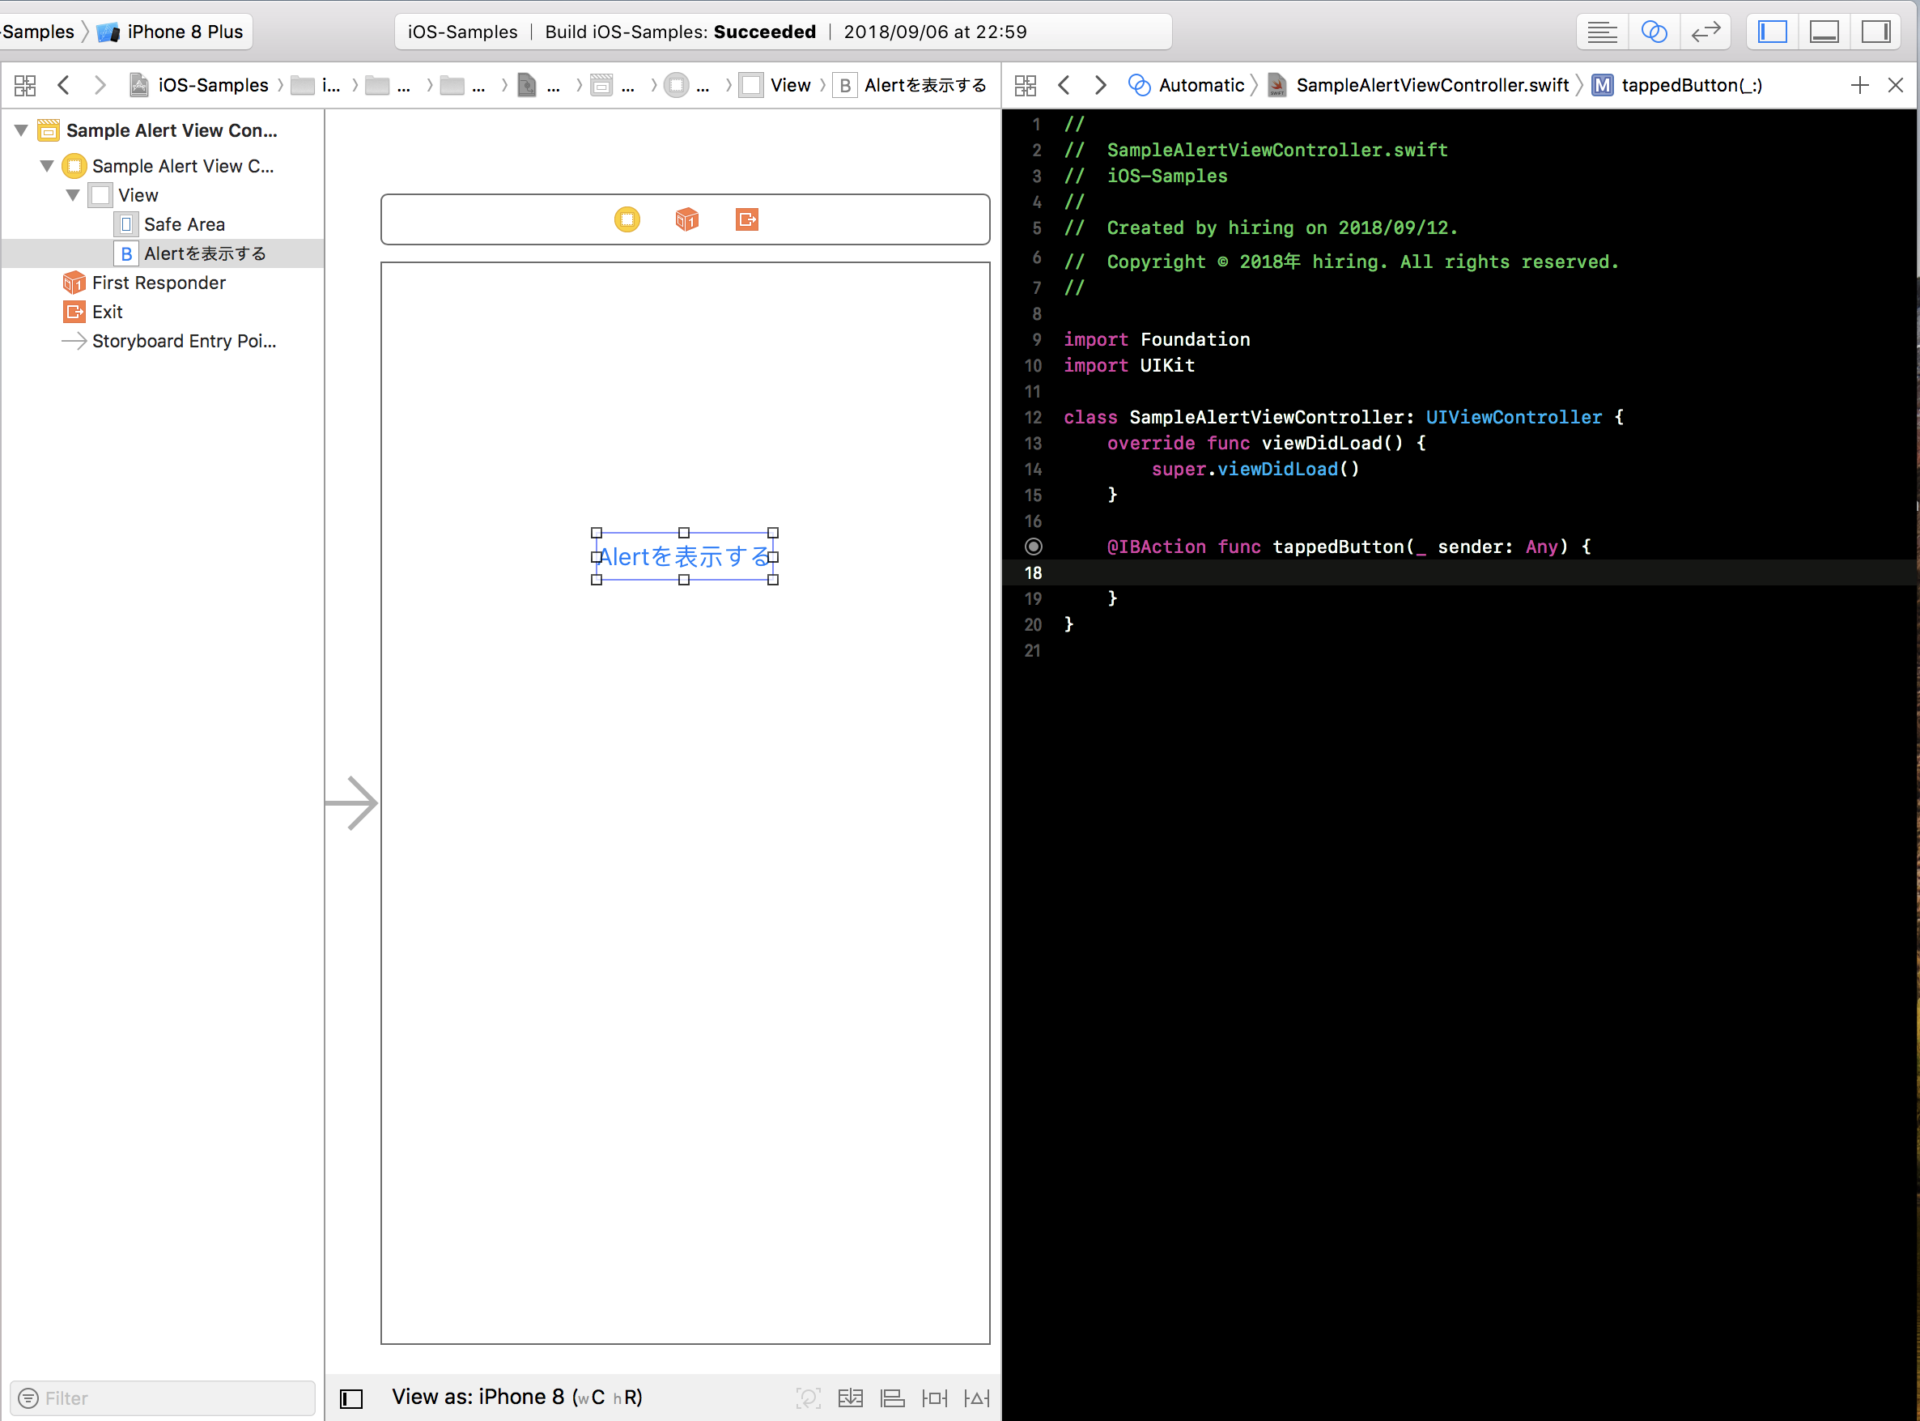
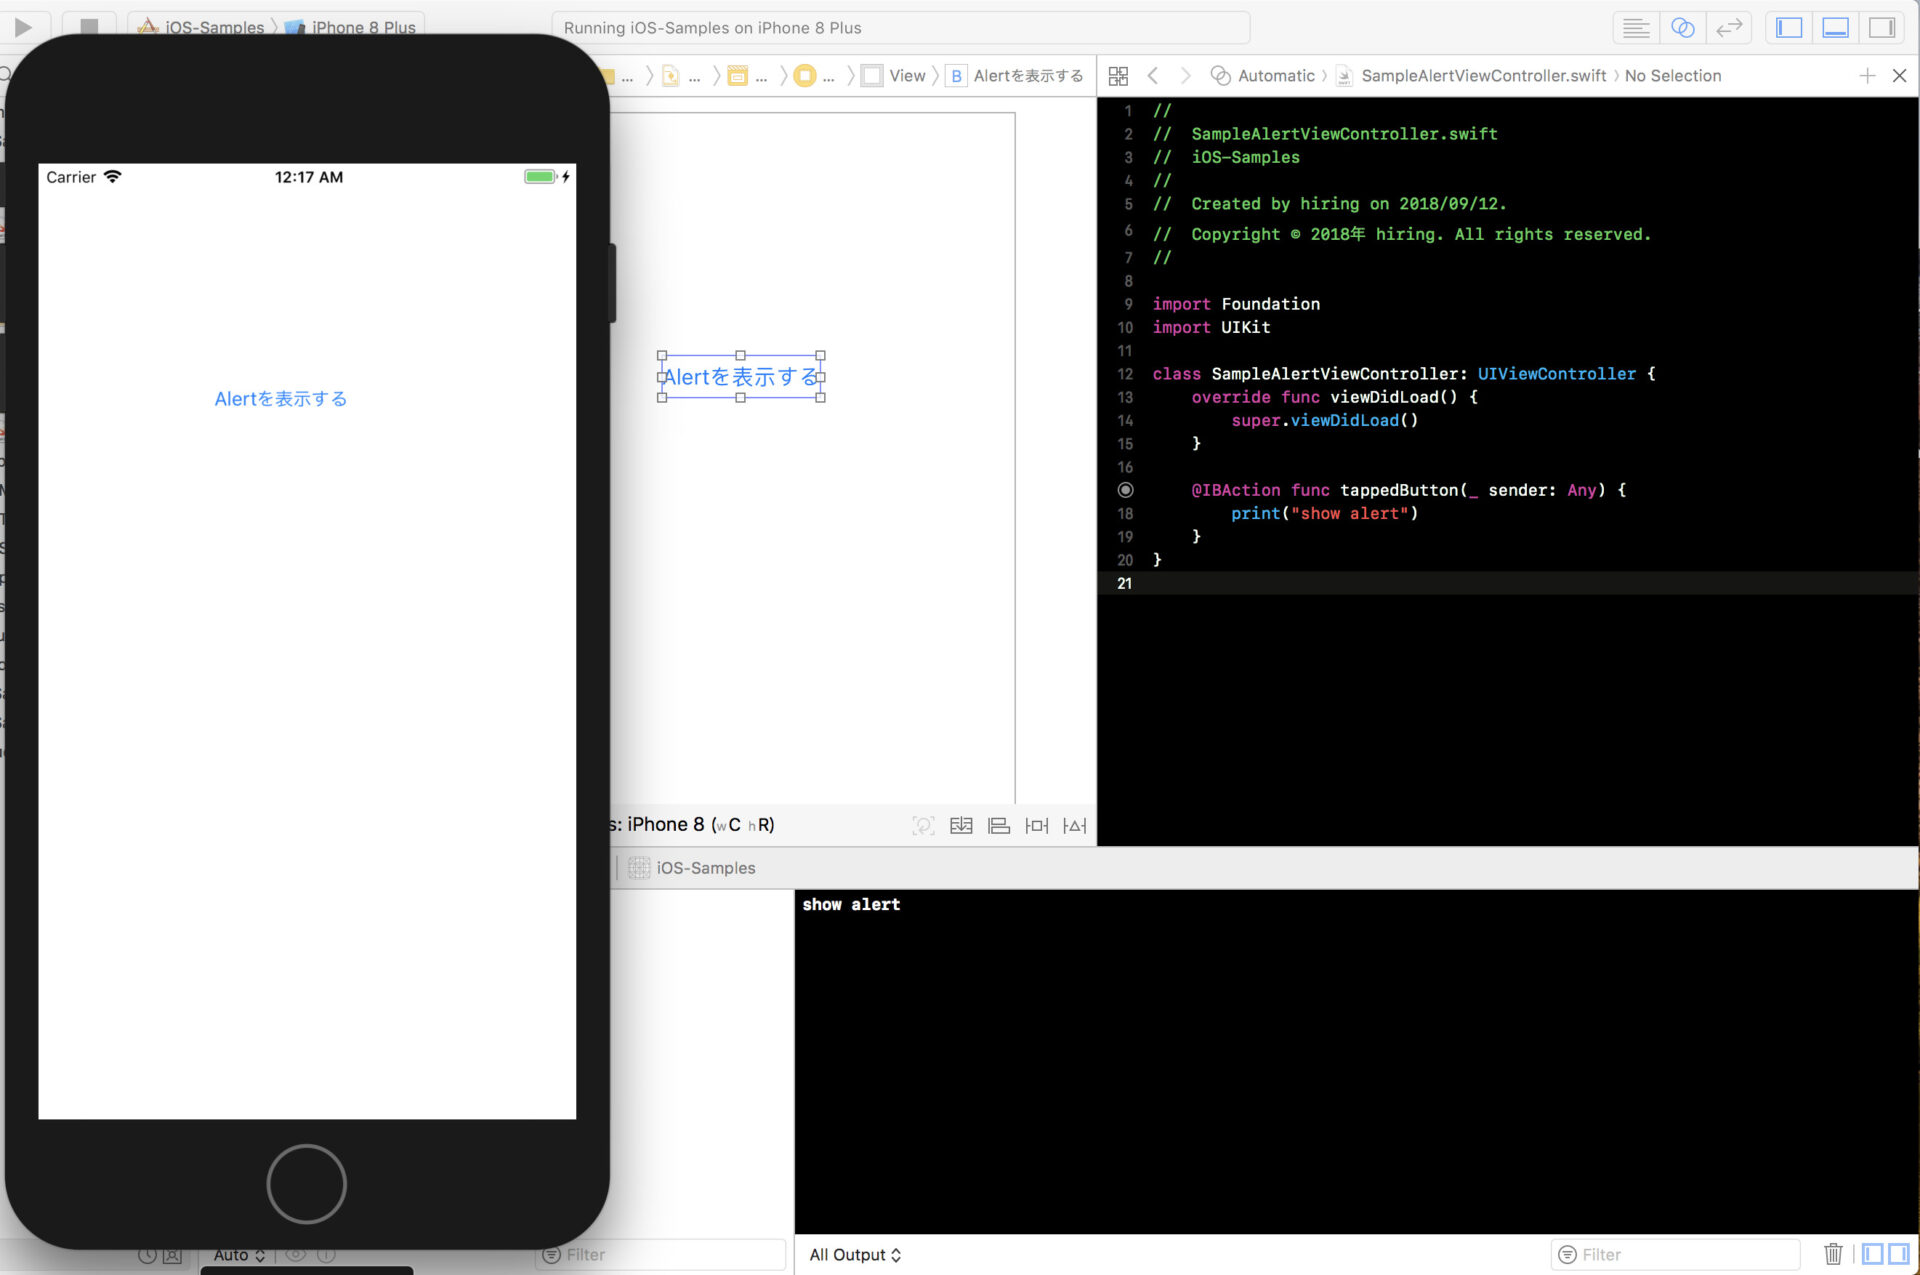
それではきちんとボタンアクションが取れているかを確認するために print 関数を使ってみましょう。
@IBAction func tappedButton(_ sender: Any) {
    print("show alert")
}
コンソールに「show alert」と表示されれば成功です!
UIAlertControllerを表示させる
UIAlertController を表示させる準備が整ったので表示させていきましょう!
UIAlertController には表示させる形式がアラートとアクションシートの2つがあります。
| アラート | アクションシート |
|---|---|
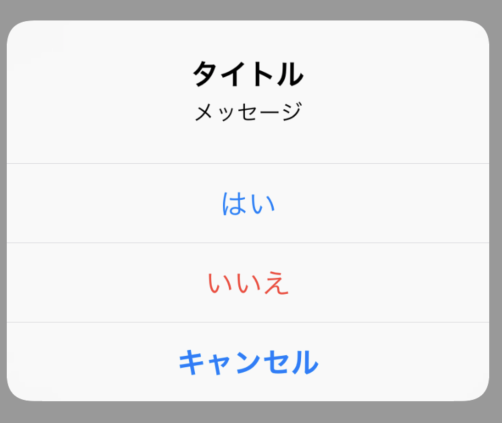 |  |
![]() モグモグさん
モグモグさん
アラートの表示方法から解説するよ!
UIAlertControllerを表示する(アラート)
それでは早速 UIAlertController をアラートで表示していきましょう。
まずはソースコードから見ていきましょう。
@IBAction func tappedButton(_ sender: Any) {
  // UIAlertControllerの生成
  let alert = UIAlertController(title: "タイトル", message: "メッセージ", preferredStyle: .alert)

  // アクションの生成
  let yesAction = UIAlertAction(title: "はい", style: .default) { action in
      print("tapped yes")
  }

  let noAction = UIAlertAction(title: "いいえ", style: .destructive) { action in
      print("tapped no")
  }

  let cancelAction = UIAlertAction(title: "キャンセル", style: .cancel) { action in
      print("tapped cancel")
  }

  // アクションの追加
  alert.addAction(yesAction)
  alert.addAction(noAction)
  alert.addAction(cancelAction)

  // UIAlertControllerの表示
  present(alert, animated: true, completion: nil)
}
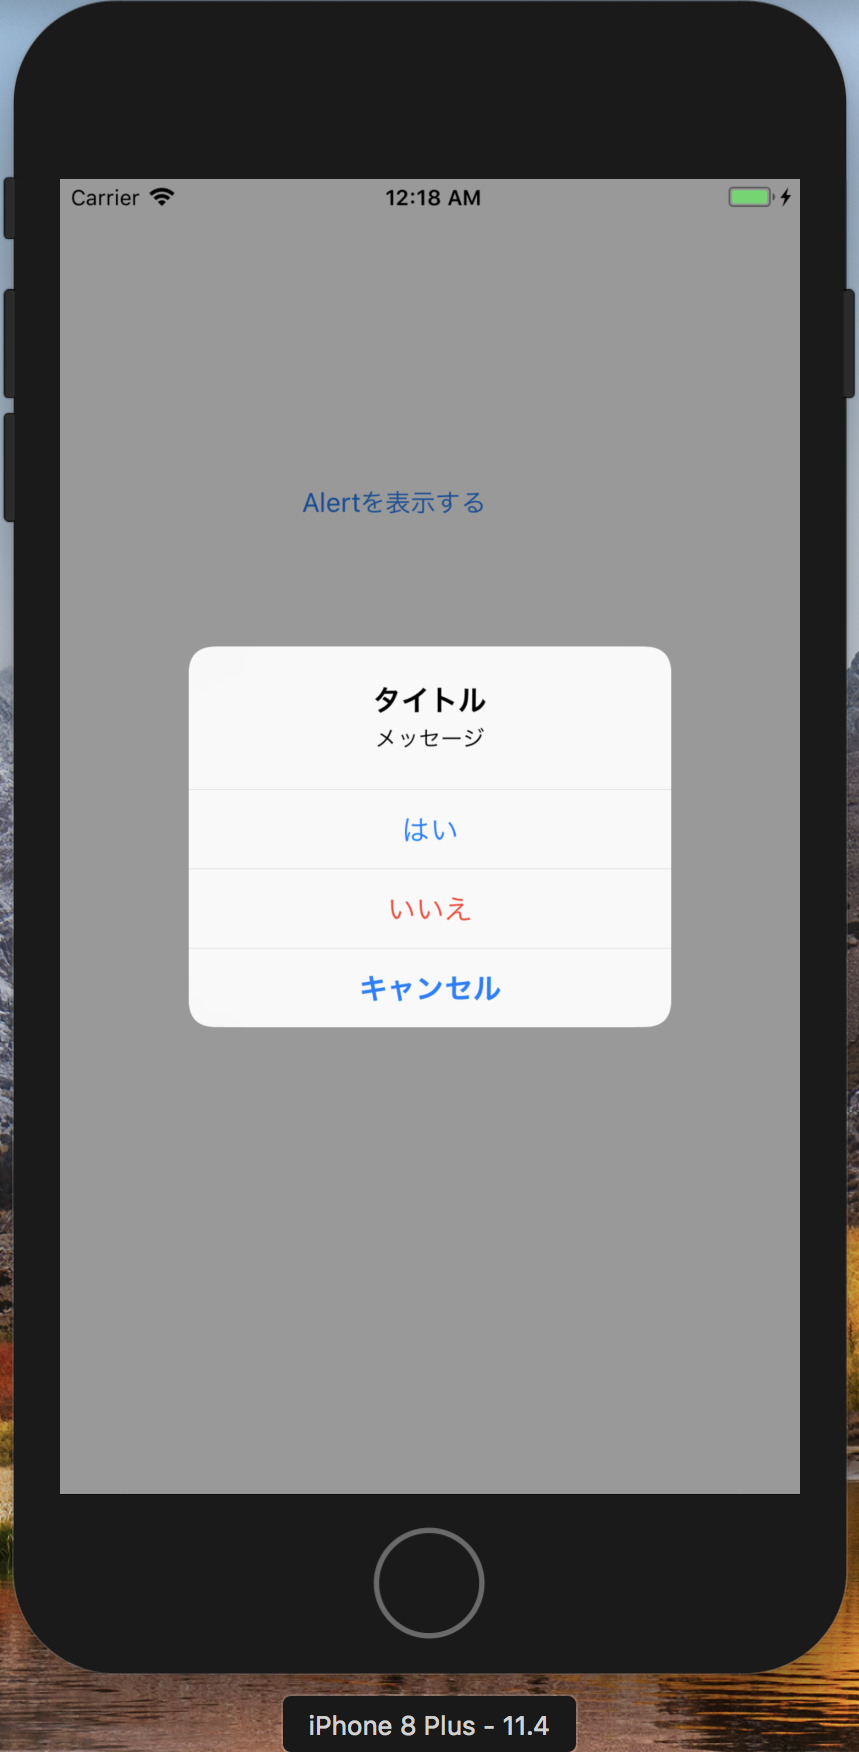
この状態でビルドをすると次のようなアラートが表示されます。
それでは1つずつ説明していきます。
この行では UIAlertController の生成を行っておりタイトルとメッセージもこのタイミングで行います。
また preferredStyle に .alert を指定することでアラート形式で表示させるようにしています。
let alert = UIAlertController(title: "タイトル", message: "メッセージ", preferredStyle: .alert)次ではアラートに表示させるアクションの定義をしています。
まずは yesAction を見ていきましょう。
let yesAction = UIAlertAction(title: "はい", style: .default) { action in
    print("tapped yes")
}
title を「はい」として style を default としています。
title はその名の通りアクションのタイトルとなります。
style とはそのアクションがどのようなアクションなのかを見た目でユーザーに知らせることができます。
style には3つの状態を指定できます。
.default- 通常の選択肢。destructiveのアクションがある場合には肯定的な選択肢となる場合が多い。例:
はい,OK
- 通常の選択肢。destructiveのアクションがある場合には肯定的な選択肢となる場合が多い。例:
.destructive- 否定的な選択肢。アクション名が赤字となる。例:
いいえ,NO
- 否定的な選択肢。アクション名が赤字となる。例:
.cancel- アラート自体を取り止めるような選択肢。例:
キャンセル
- アラート自体を取り止めるような選択肢。例:
次は生成したアクションを UIAlertController に追加しています。
alert.addAction(yesAction)
alert.addAction(noAction)
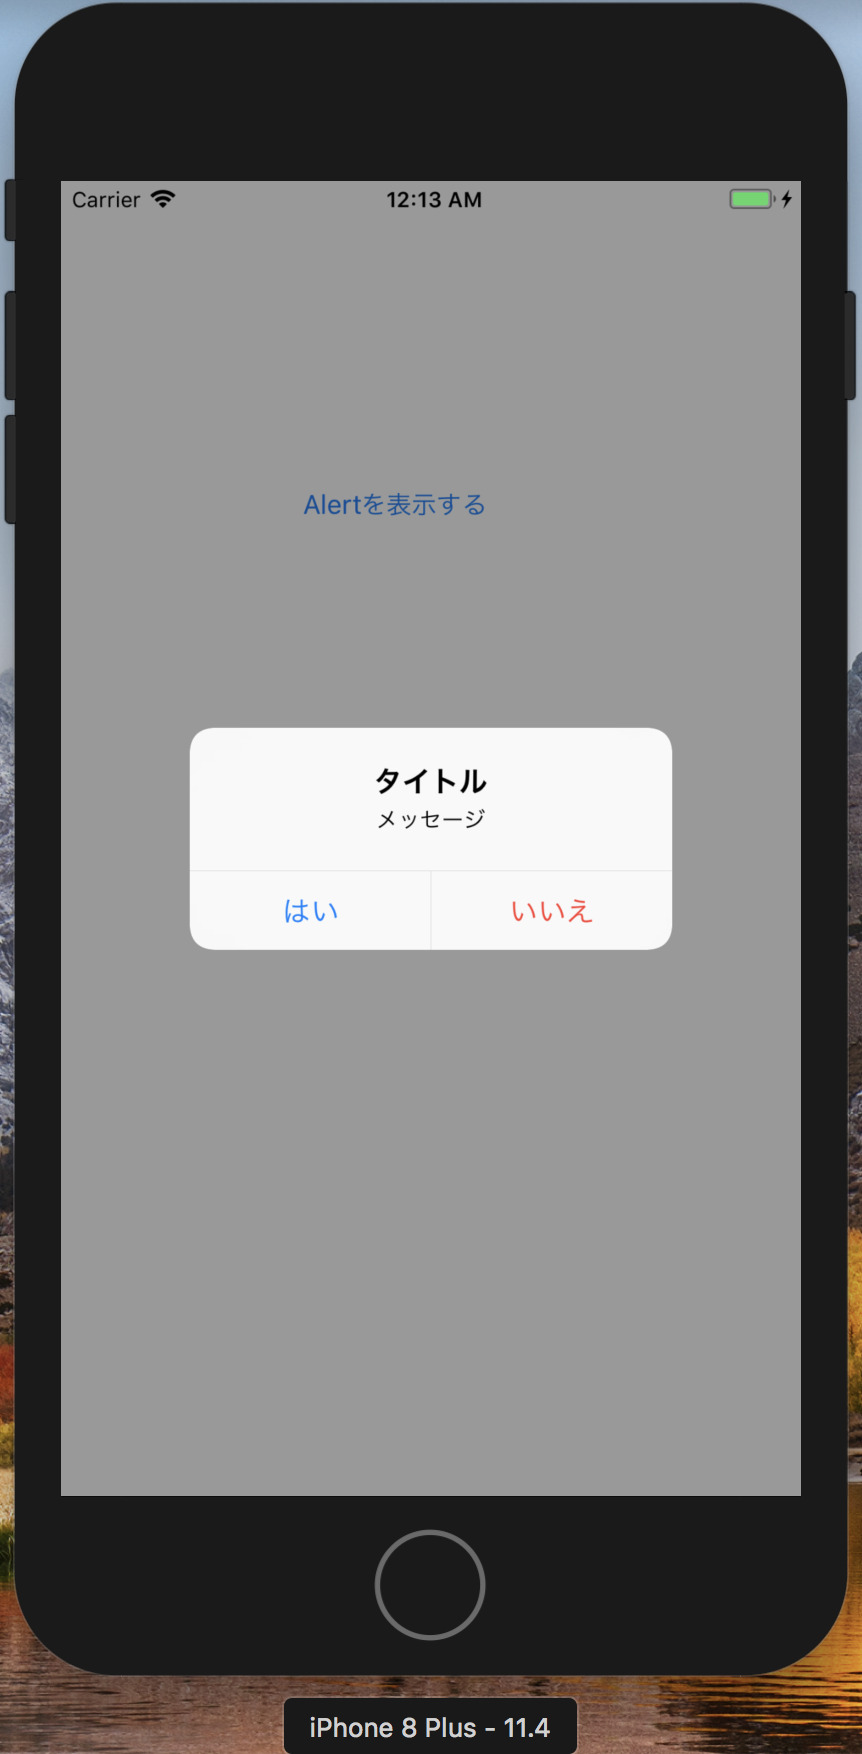
alert.addAction(cancelAction)今回は3つだったため縦に3つのアクションが並んでいましたが、2つの場合だと横並びになります。
最後は UIViewController の present 関数でアラート表示させています。
present(alert, animated: true, completion: nil)アクションシートを表示
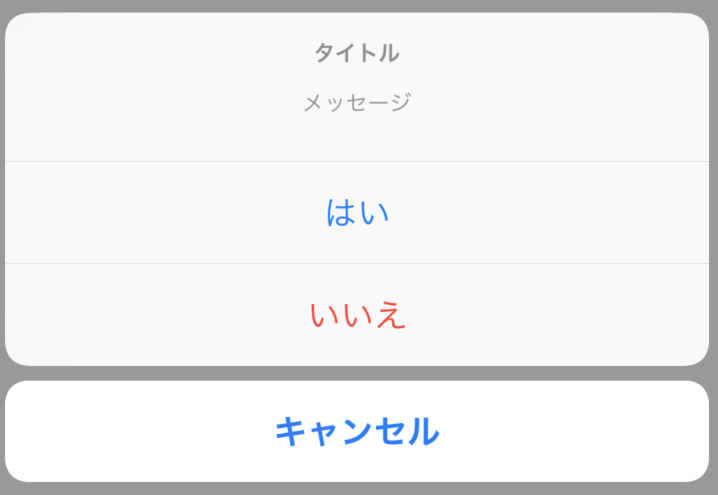
次はアクションシート形式の表示のさせ方です。
基本的な使い方はアラートとほとんど同じです。
preferredStyle を actionSheet に変更させましょう。
@IBAction func tappedButton(_ sender: Any) {
  // UIAlertControllerの生成
  let alert = UIAlertController(title: "タイトル", message: "メッセージ", preferredStyle: .actionSheet)

  // アクションの生成
  let yesAction = UIAlertAction(title: "はい", style: .default) { action in
      print("tapped yes")
  }

  let noAction = UIAlertAction(title: "いいえ", style: .destructive) { action in
      print("tapped no")
  }

  let cancelAction = UIAlertAction(title: "キャンセル", style: .cancel) { action in
      print("tapped cancel")
  }

  // アクションの追加
  alert.addAction(yesAction)
  alert.addAction(noAction)
  alert.addAction(cancelAction)

  // UIAlertControllerの表示
  present(alert, animated: true, completion: nil)
}
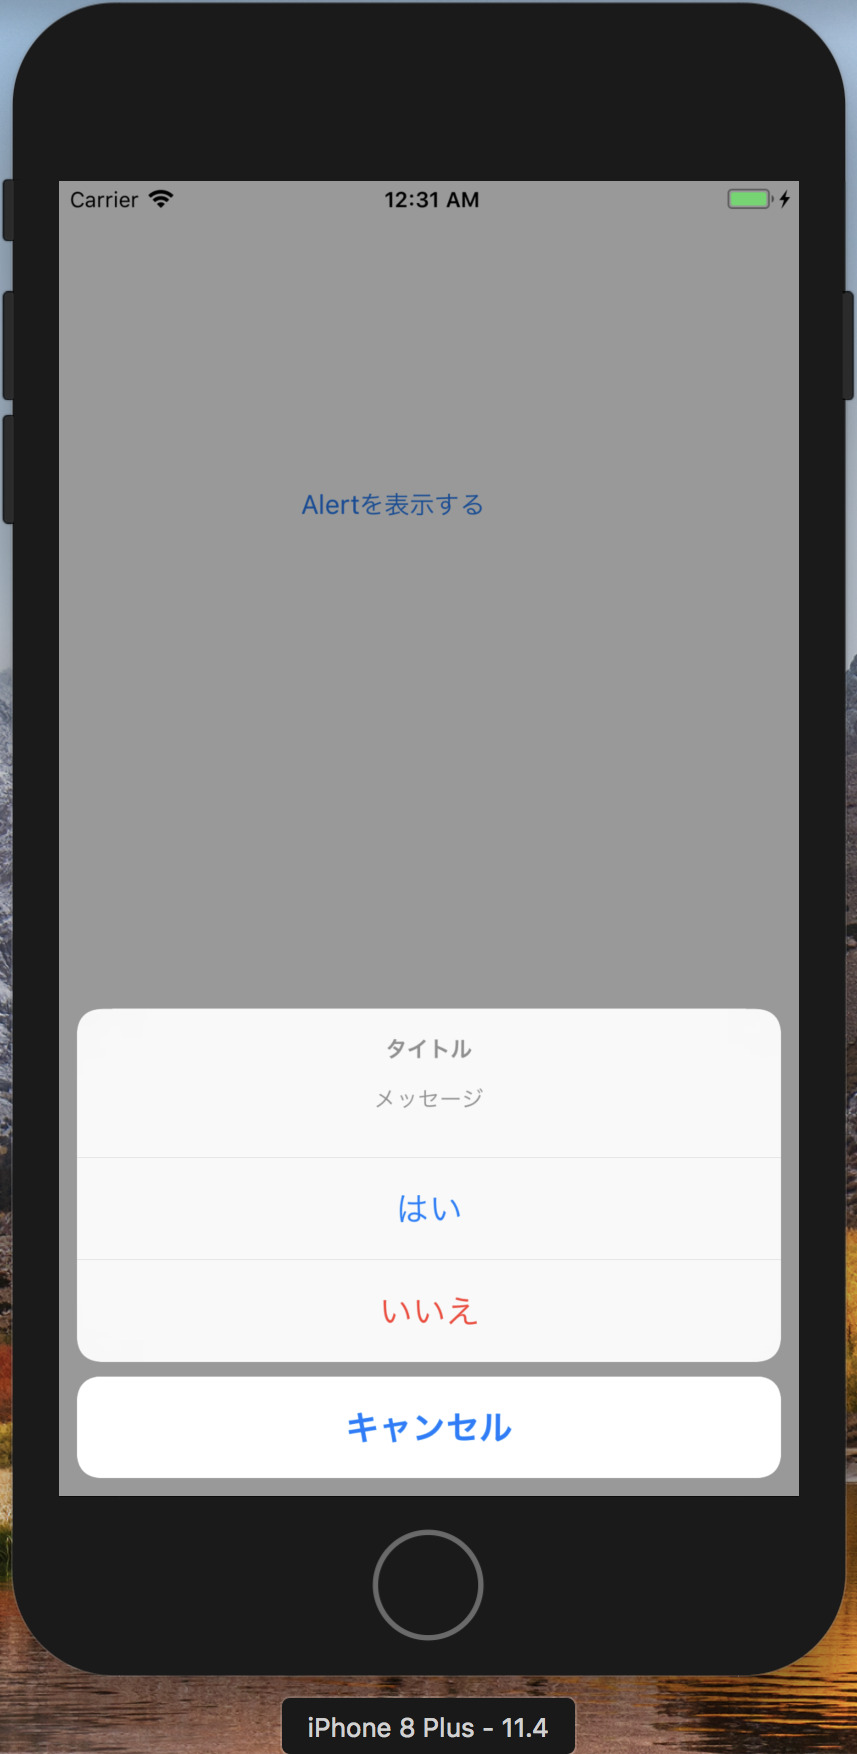
このようなアクションシートが表示されれば成功です!
最後に
UIAlertController は多くのアプリで利用されています。
基本的な使い方を覚えていきましょう!