

iOSアプリ開発の入門として、UIButtonの使い方をチュートリアル形式で解説します。
![]() モグモグさん
モグモグさん
ストーリボードとUIButtonの使い方がわかるようになるよ。
アプリのUIを作る上でも重要なので初心者の方は実際にやってみよう!
ボタンの配置
プロジェクト作成
まずはプロジェクトを作成しましょう。
![]() モグモグさん
モグモグさん
プロジェクトの名前とかは自由でOK!
プロジェクトの作り方についてはこちらに書いてますので、参考にしてくださいね。
ストーリーボードにボタンを配置
プロジェクトが作成できたところで、UIButtonの配置をしていきましょう!
まずはUIButtonをストーリーボード上に配置していく手順を解説します。
- サイドメニューを開きます
- UIコンポーネントを選択します
- 検索タブに「
button」と入力します - 様々あったUIコンポーネントからUIButtonのみ検索結果に表示されます
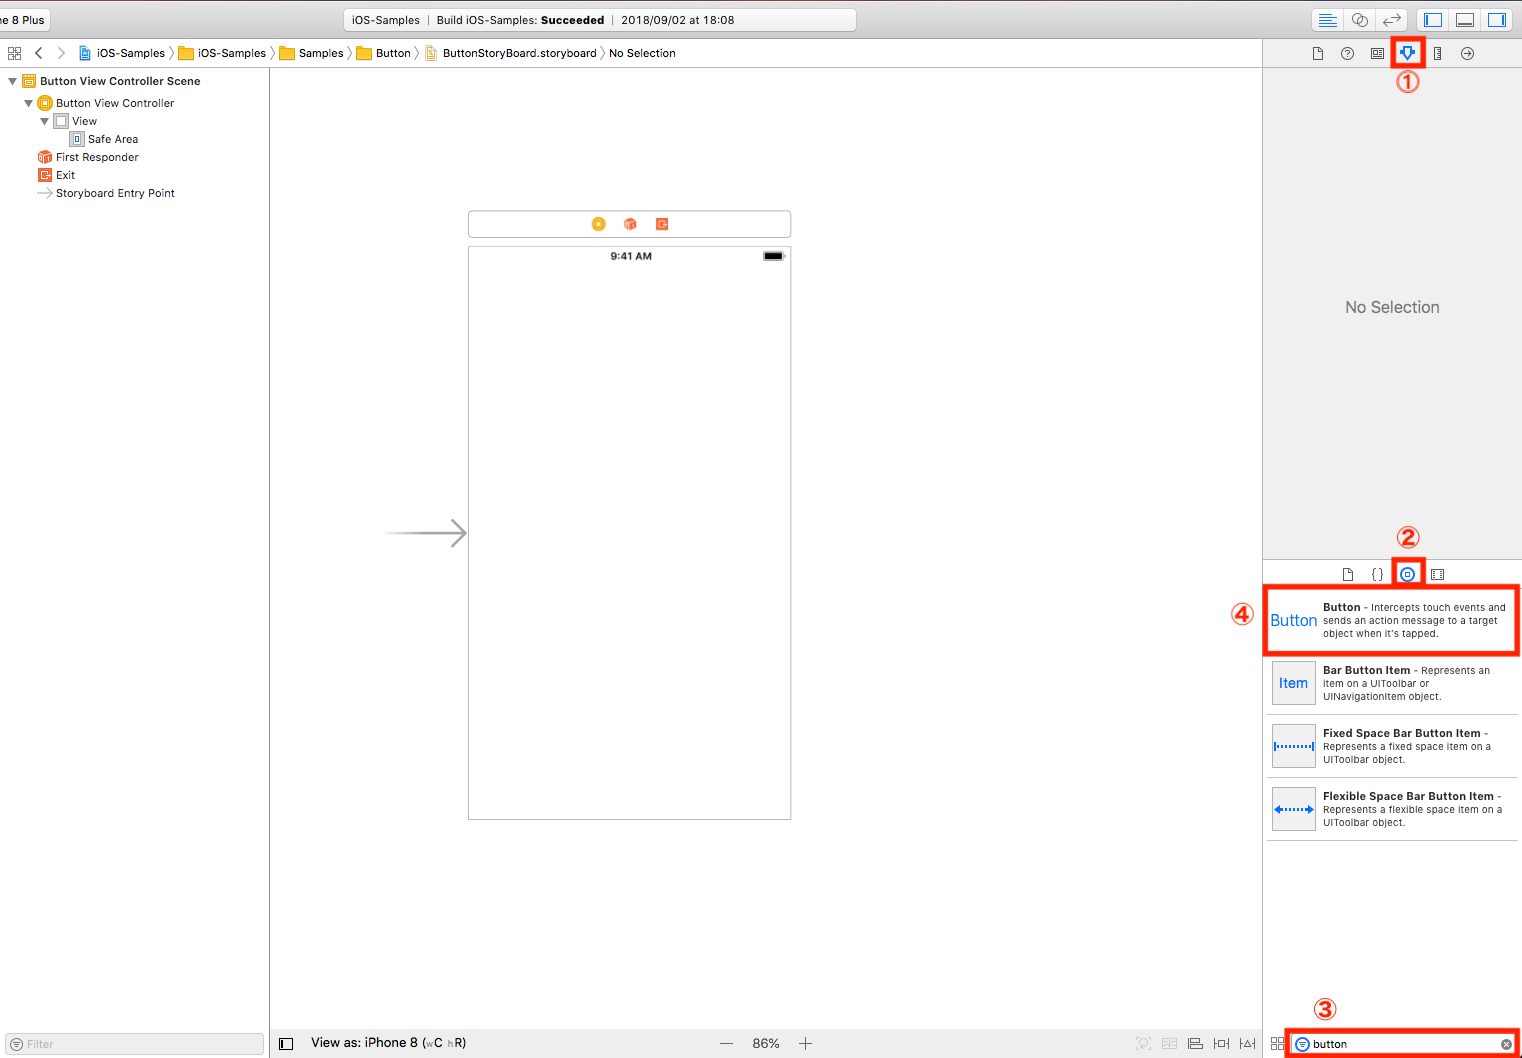
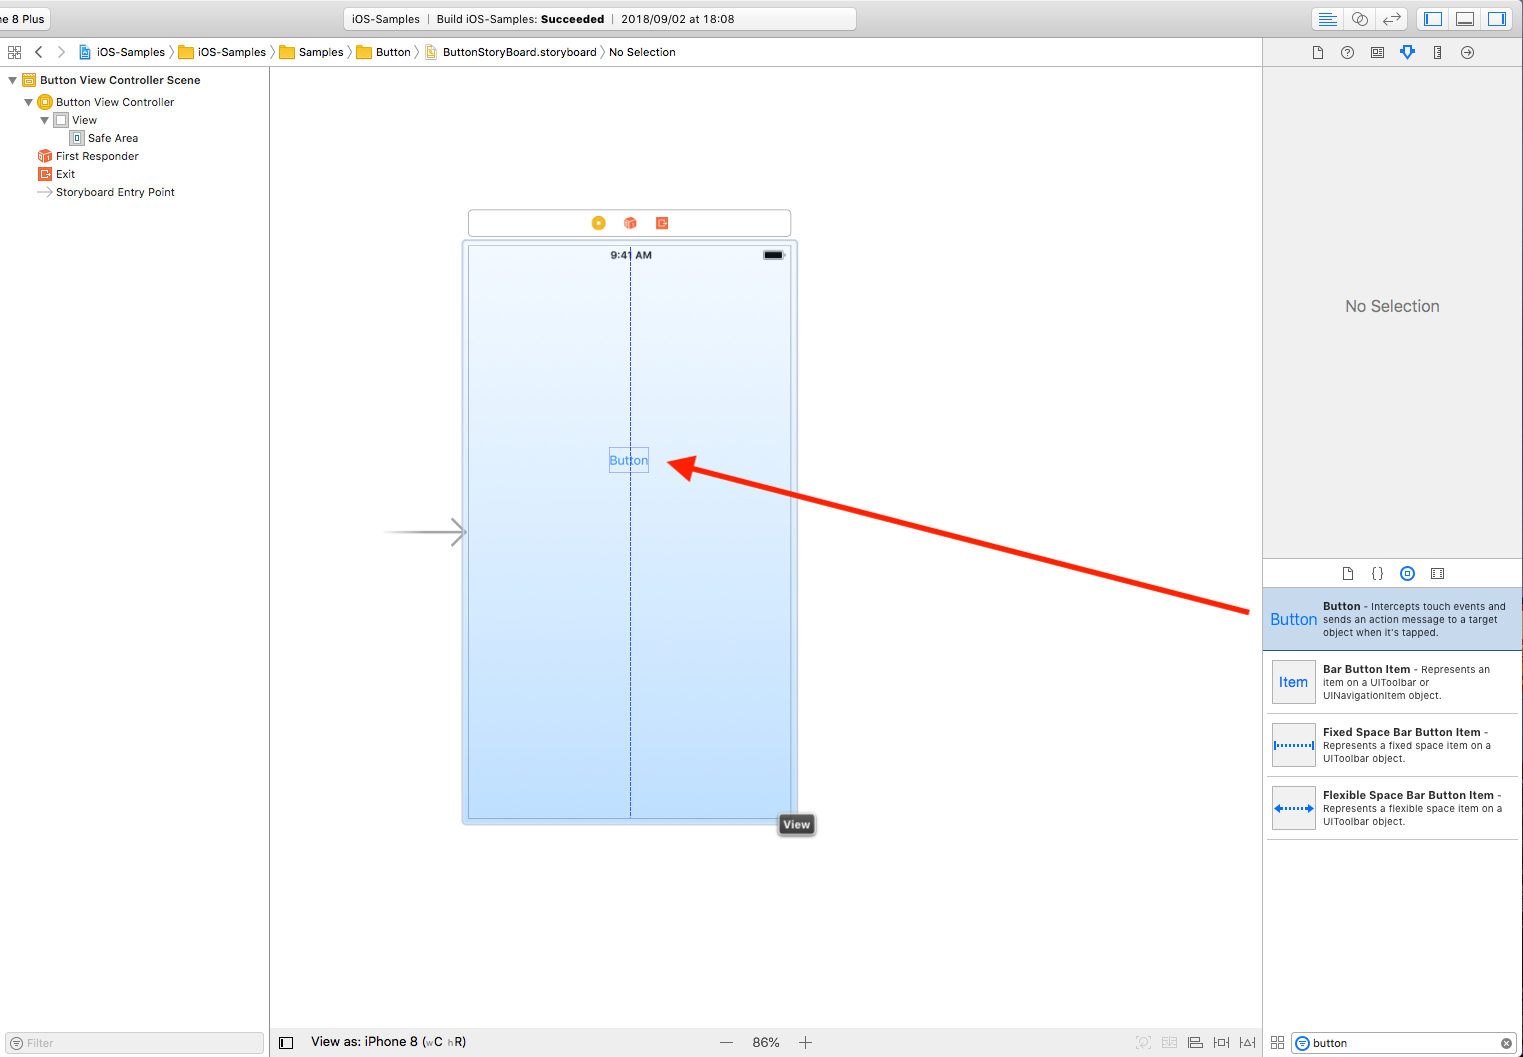
検索できたUIButtonを画像のようにドラッグ&ドロップします。
今の段階では位置を気にする必要はないので適当な位置に配置してみましょう。
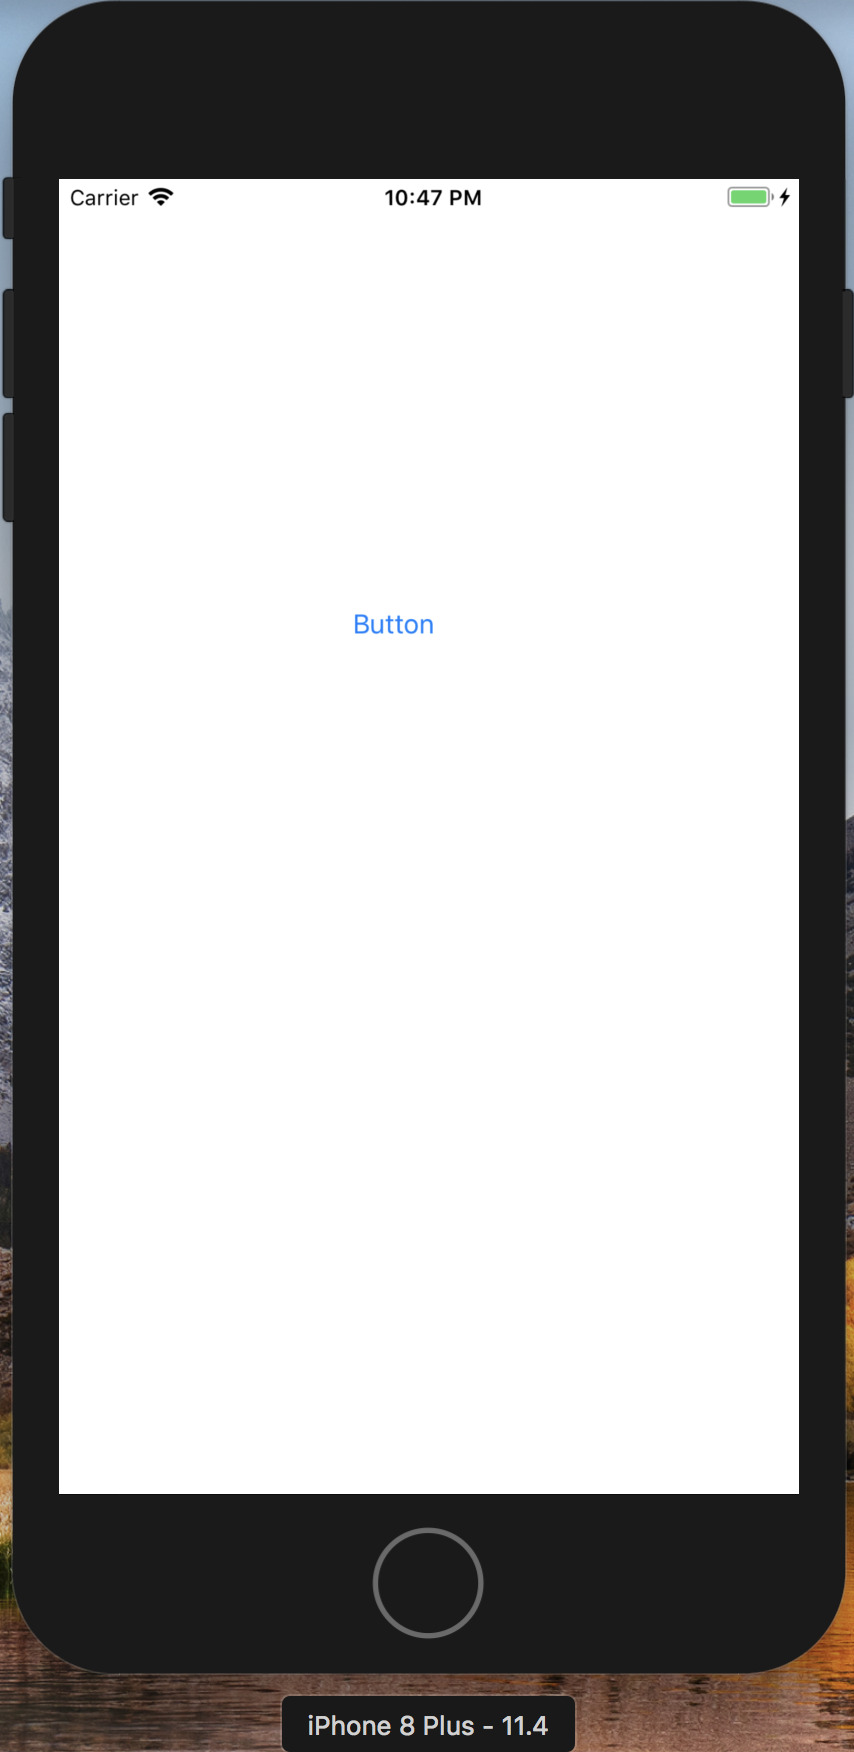
それではこの段階で一度ビルドをしてみましょう。
まだButtonと表示されるだけですが、
シュミレータにこのように表示されていれば成功です!
ボタンアクション実装
![]() モグモグさん
モグモグさん
続いてボタンを押した時の動きを実装していくよ!
ボタンアクションの定義
ViewControllerでボタンを押したアクションを受け取りたいと思います。
まずはMain.storyboardとViewController.swiftファイルの2つを開く必要がありますので、Xcode上部にある分割ボタンを押します。
すると左側にストーリーボード、右側にViewController.swiftファイルが表示されるかと思います。
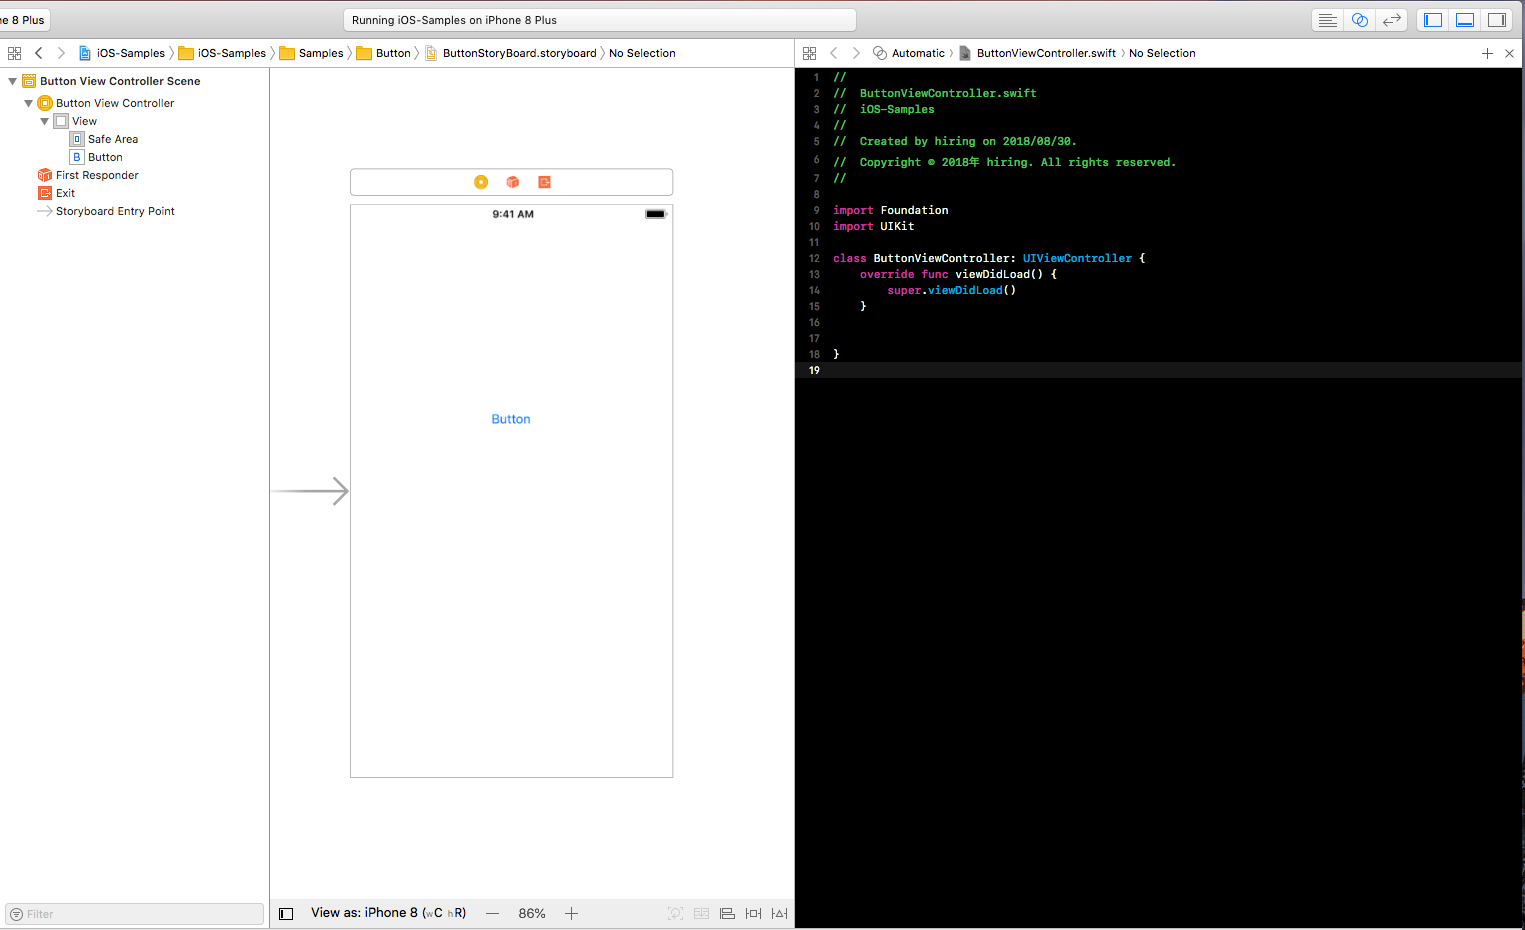
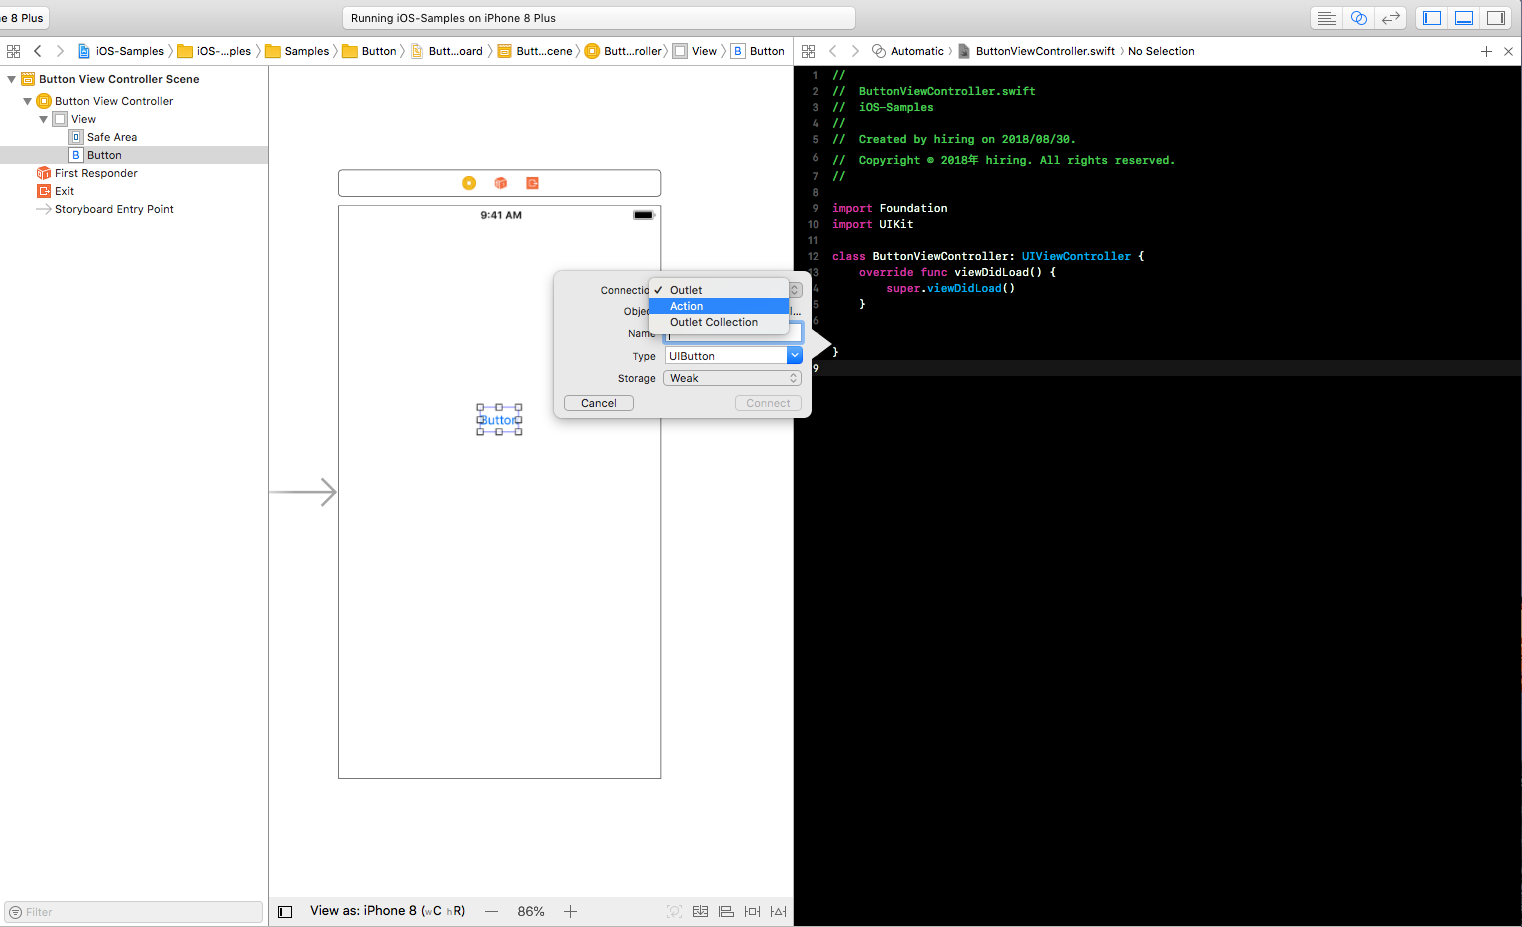
それでは、ストーリーボード上にあるUIButtonのアクションを定義していきます。
- UIButtonをキーボードの
Ctrlボタンを押しながら、左クリックしたままマウスを動かす(青い線が表示されます) - そのままViewControllerに画像と同じような位置に持っていき離す
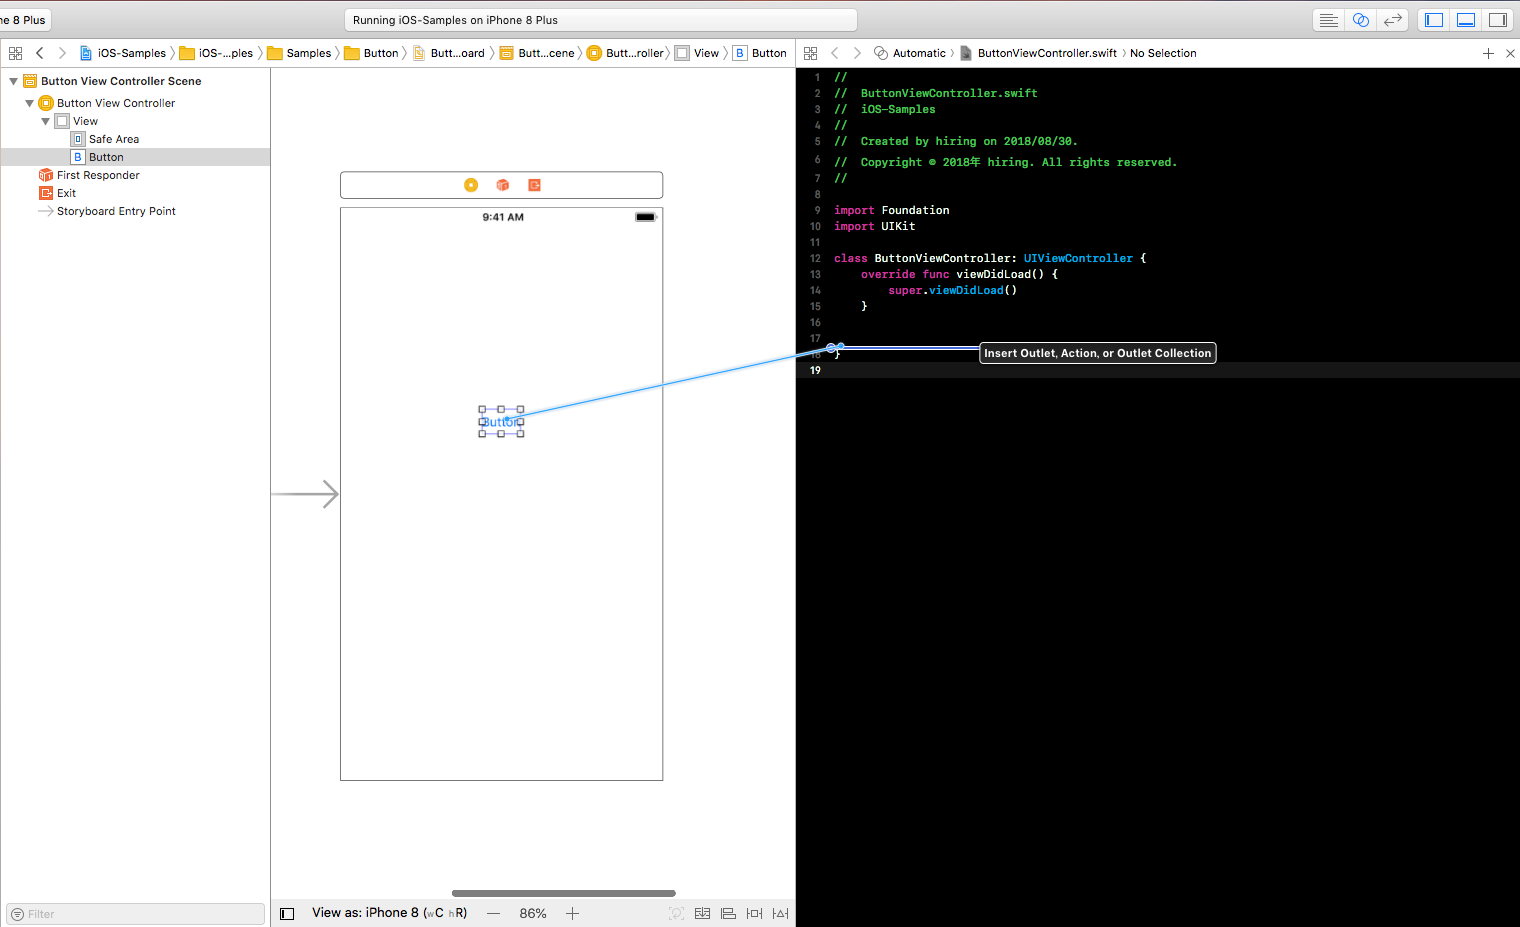
すると入力や選択肢のあるポップアップが表示されます。
ボタンの動きなどを定義できます。
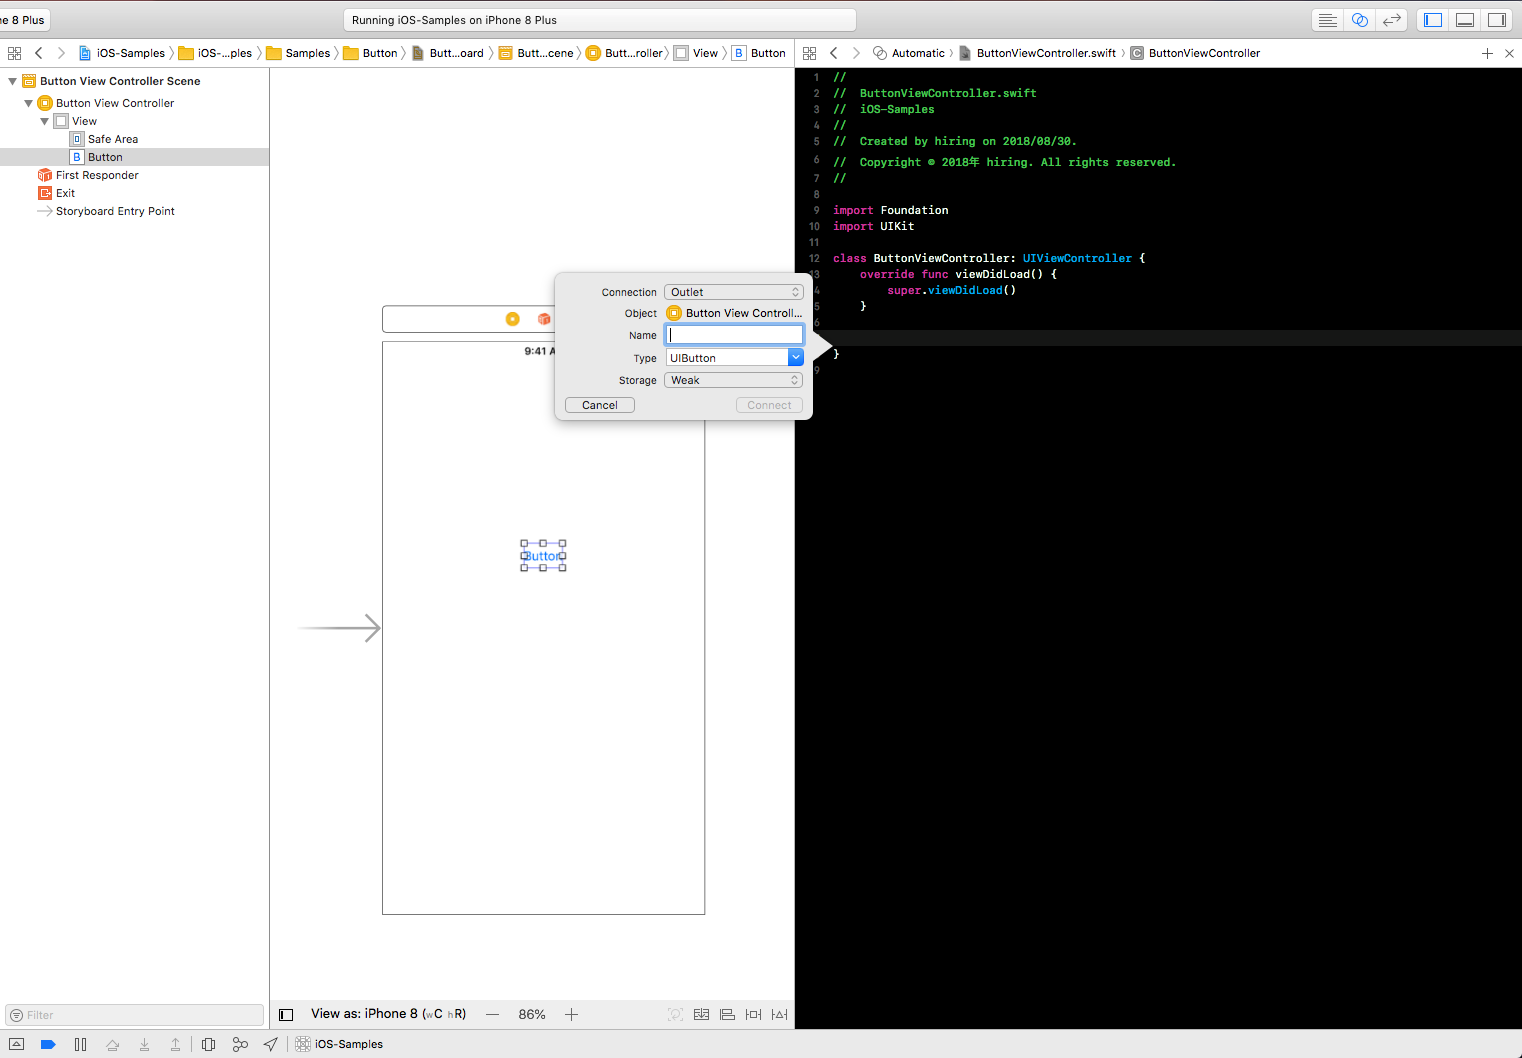
2つ変更しましょう!
- Collectionを「Outlet」から「Action」に変更
- Nameを「tappedButton」と入力
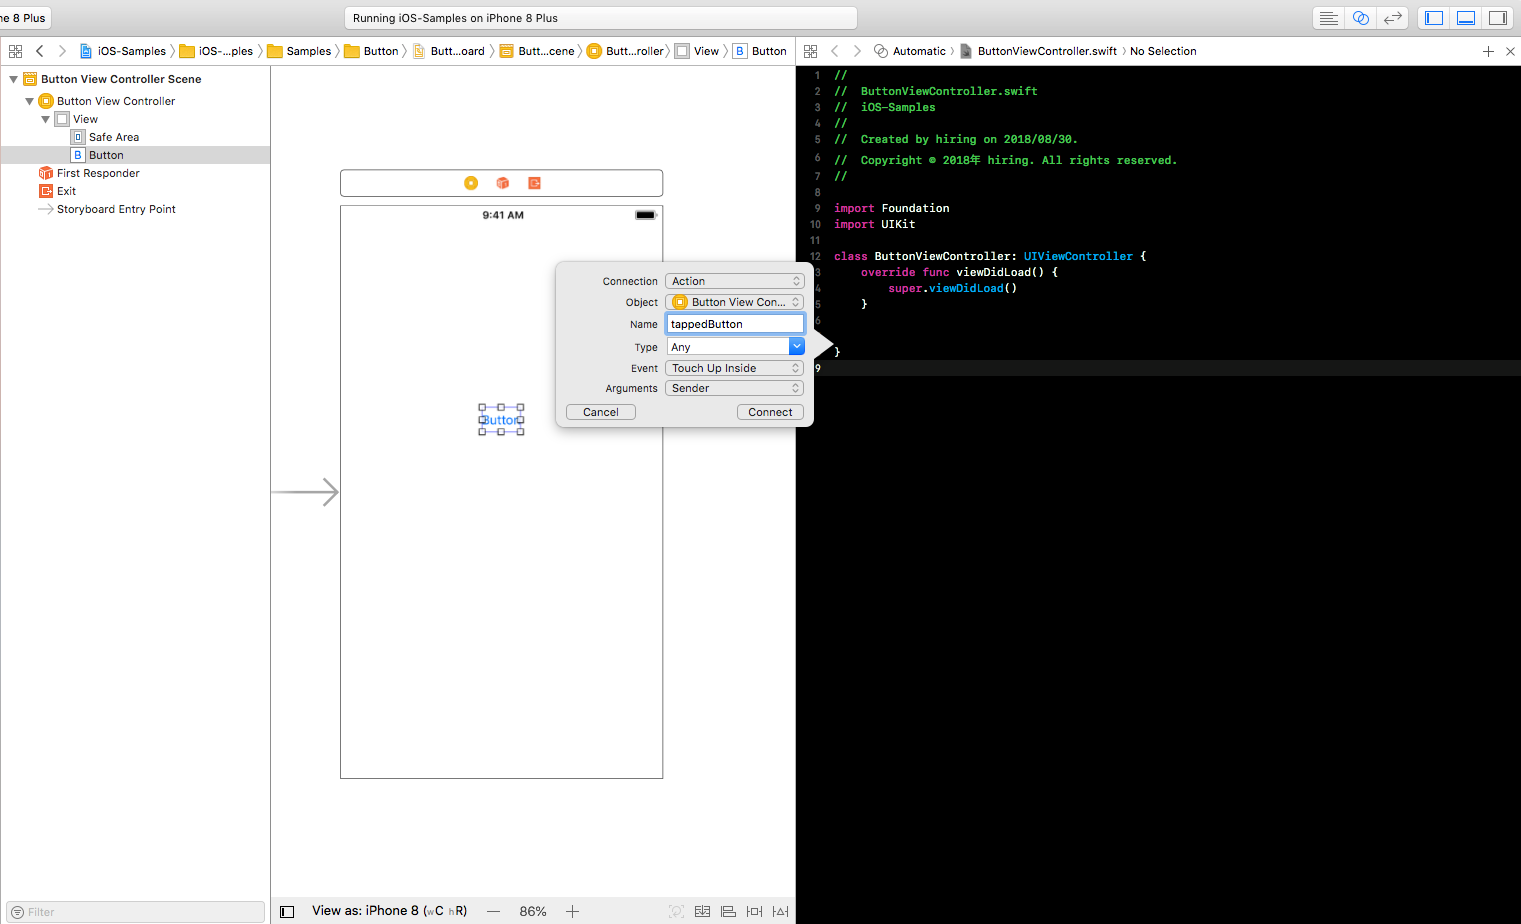
以下のようなコードが生成されます!
@IBAction func tappedButton(_ sender: Any) {
}この関数はボタンが押される度に呼ばれる関数です。
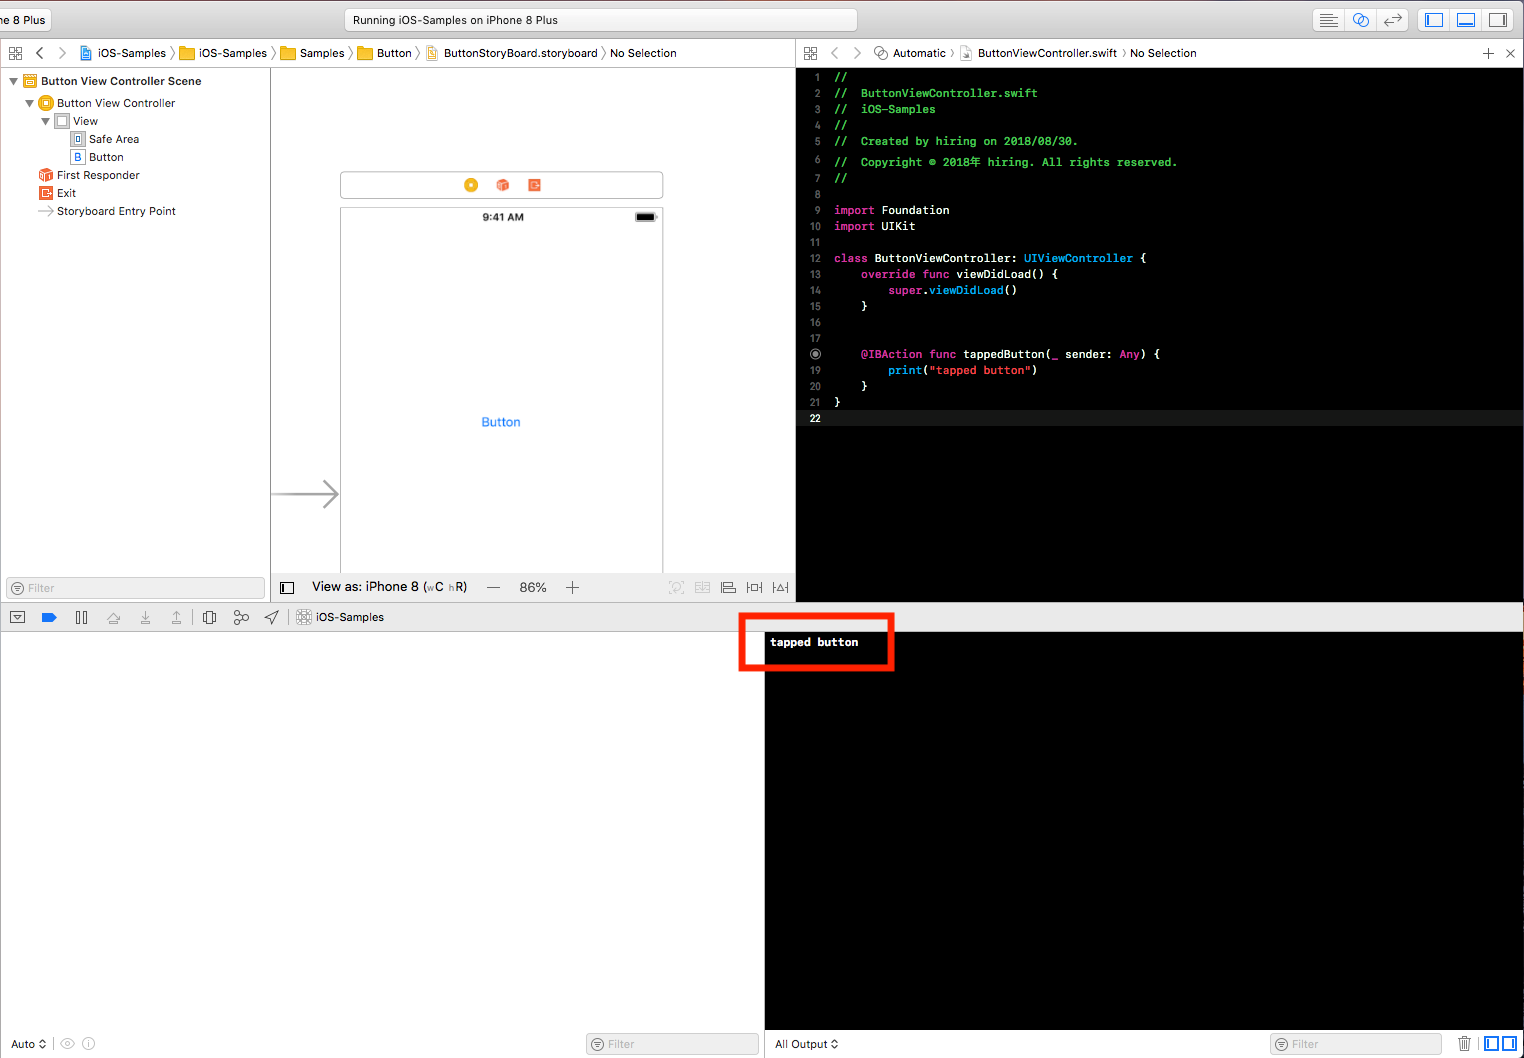
それでは試しに print 関数を使ってログ出力してみましょう。
引数に入れた値がログに出力されるようになります。
@IBAction func tappedButton(_ sender: Any) {
    // ボタンを押すごとに "tapped button" と表示される
    print("tapped button")
}
それではビルドしてみましょう。
ビルドができたところでXcodeの右上ボタンからコンソールを出します。
ボタンを押すごとに “tapped button”と表示されれば成功です。
見た目を変更
次は見た目(UI)を変更していきましょう。
見た目を変更するのにストーリーボードだけを使用するのでViewControllerは閉じておきましょう。
さらに見た目を変更するために画像のサイドメニューを開いておきます。
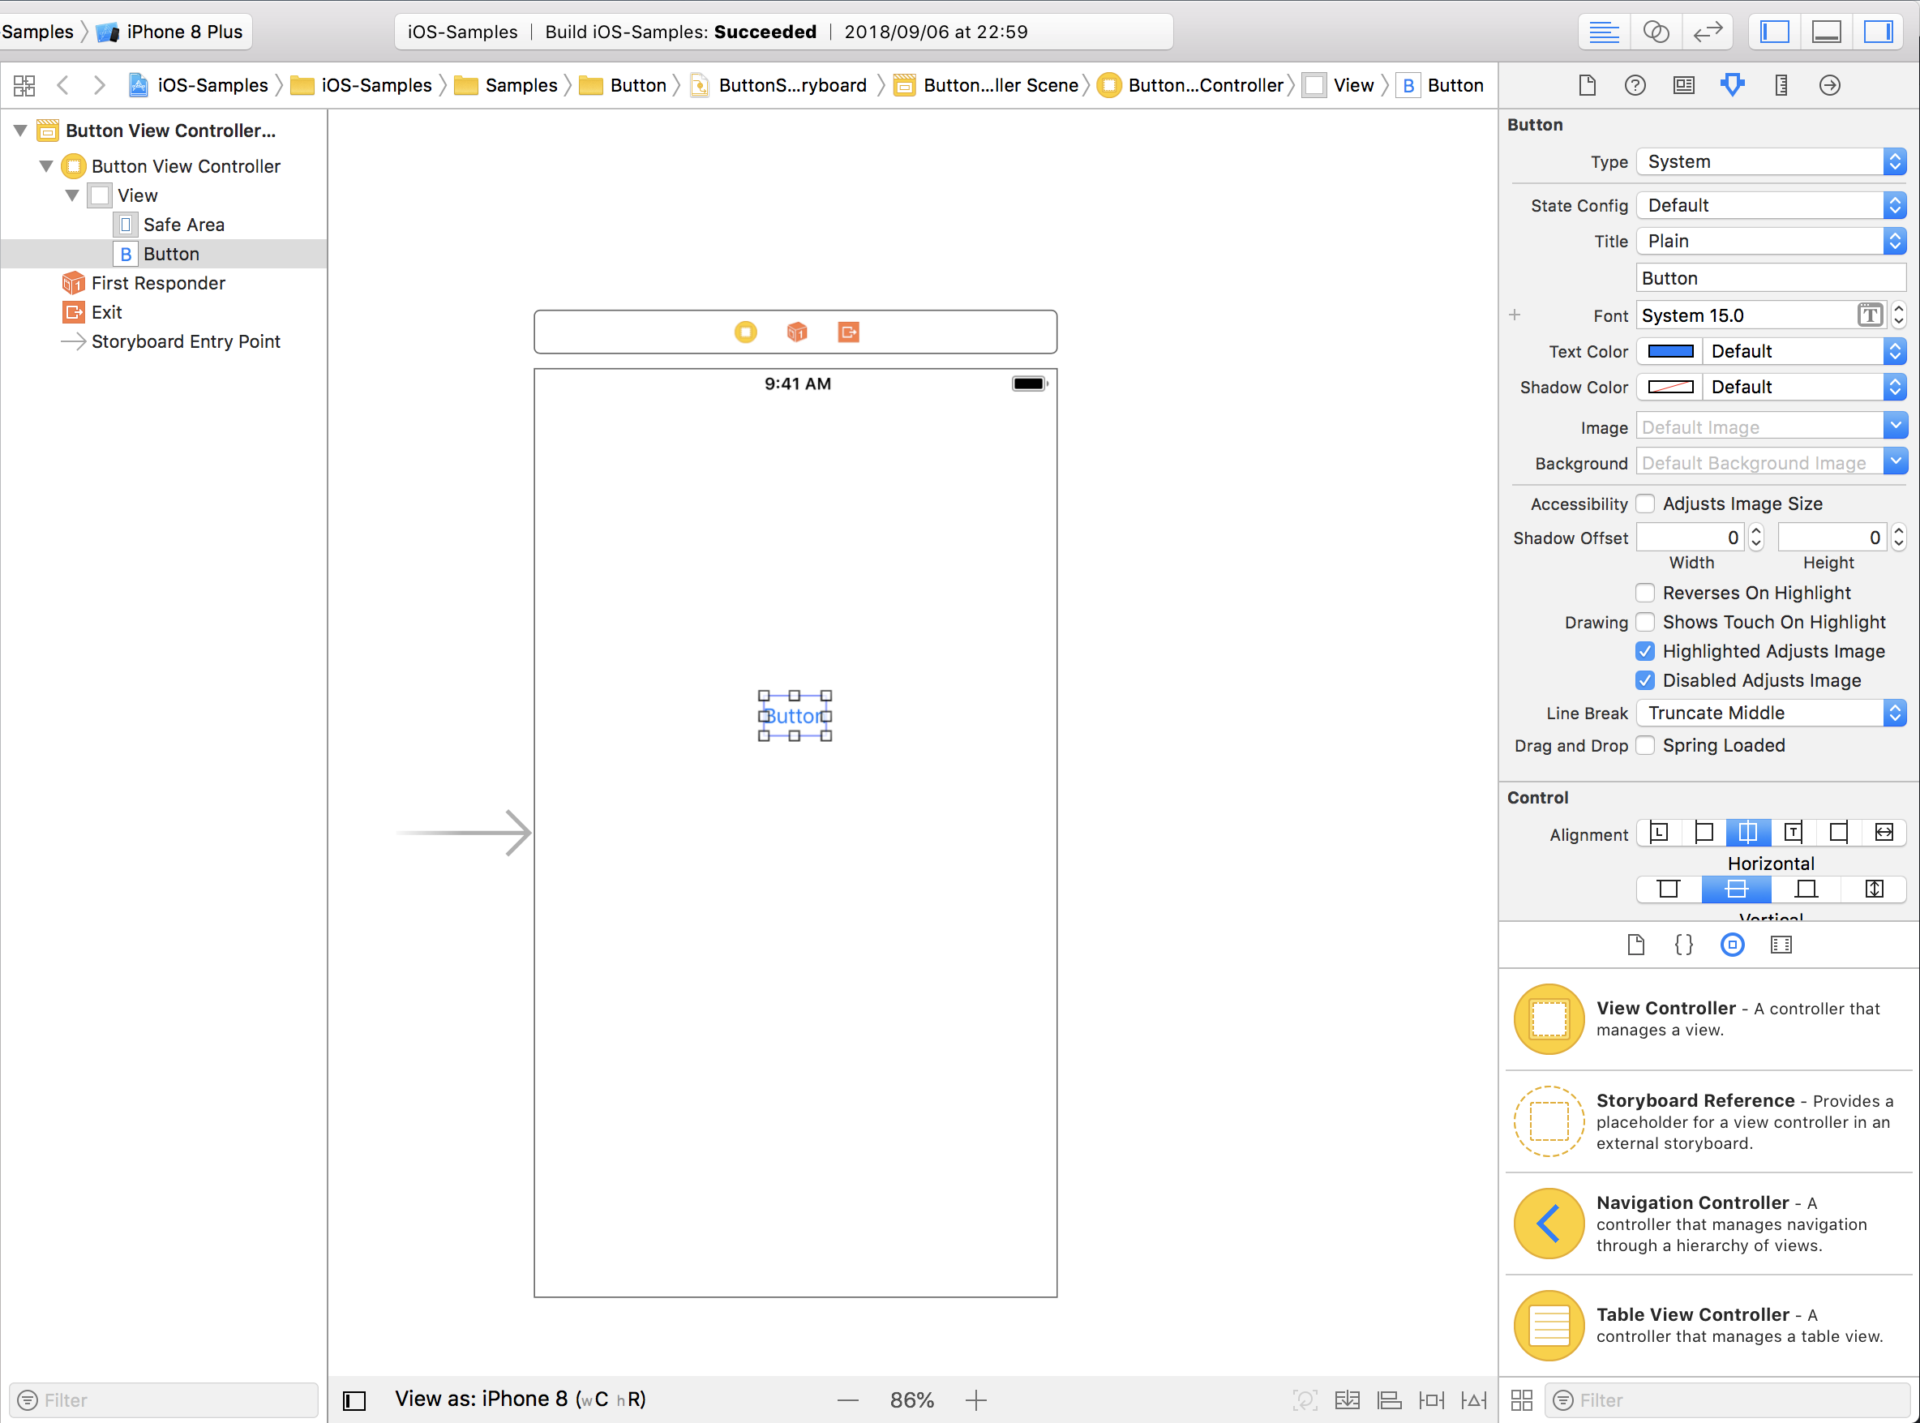
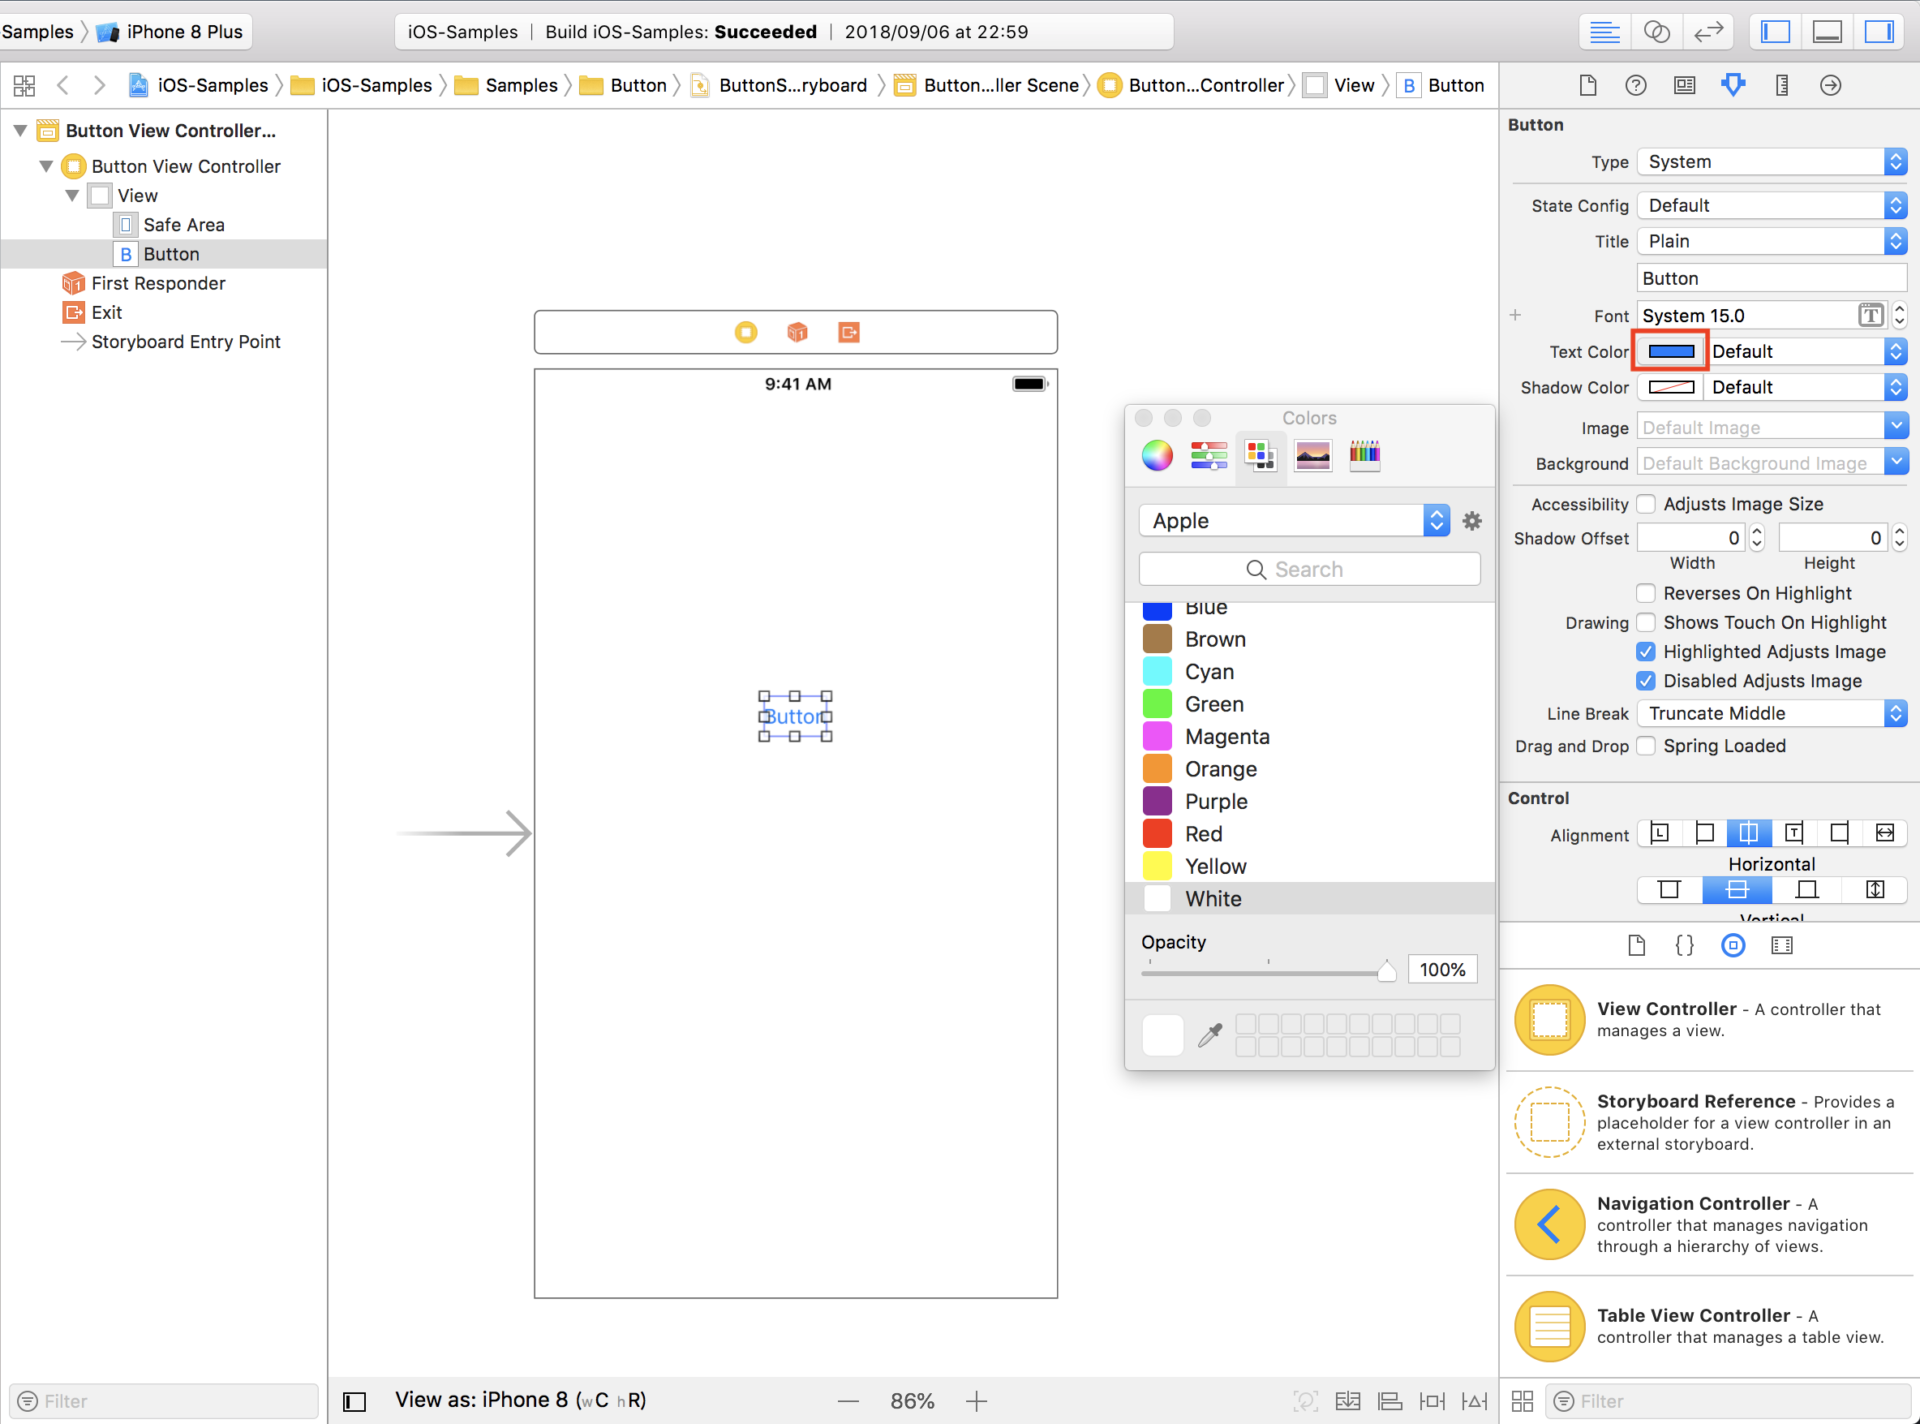
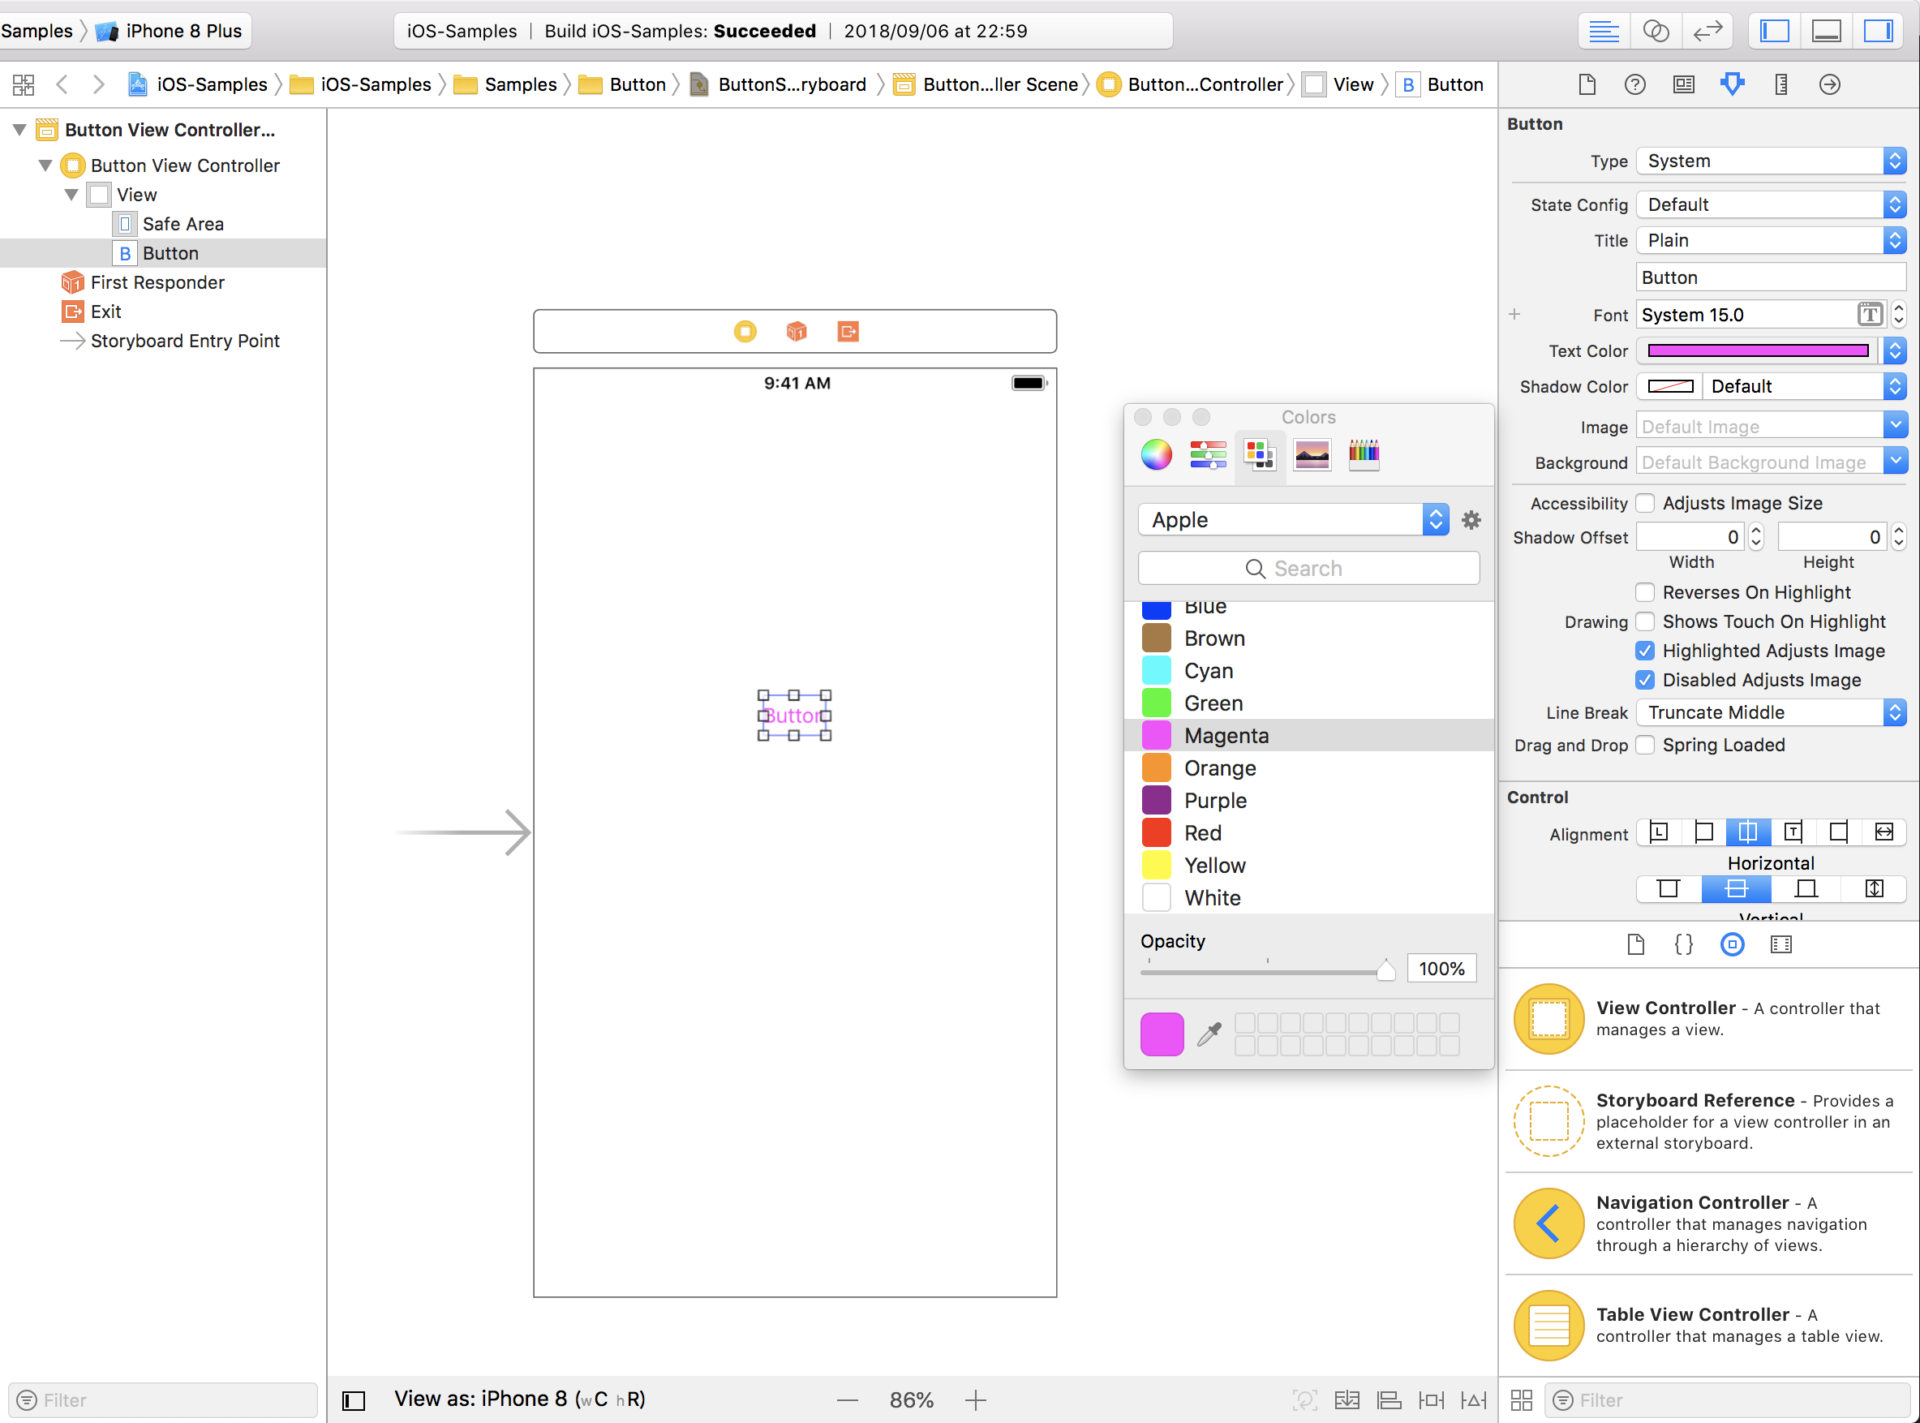
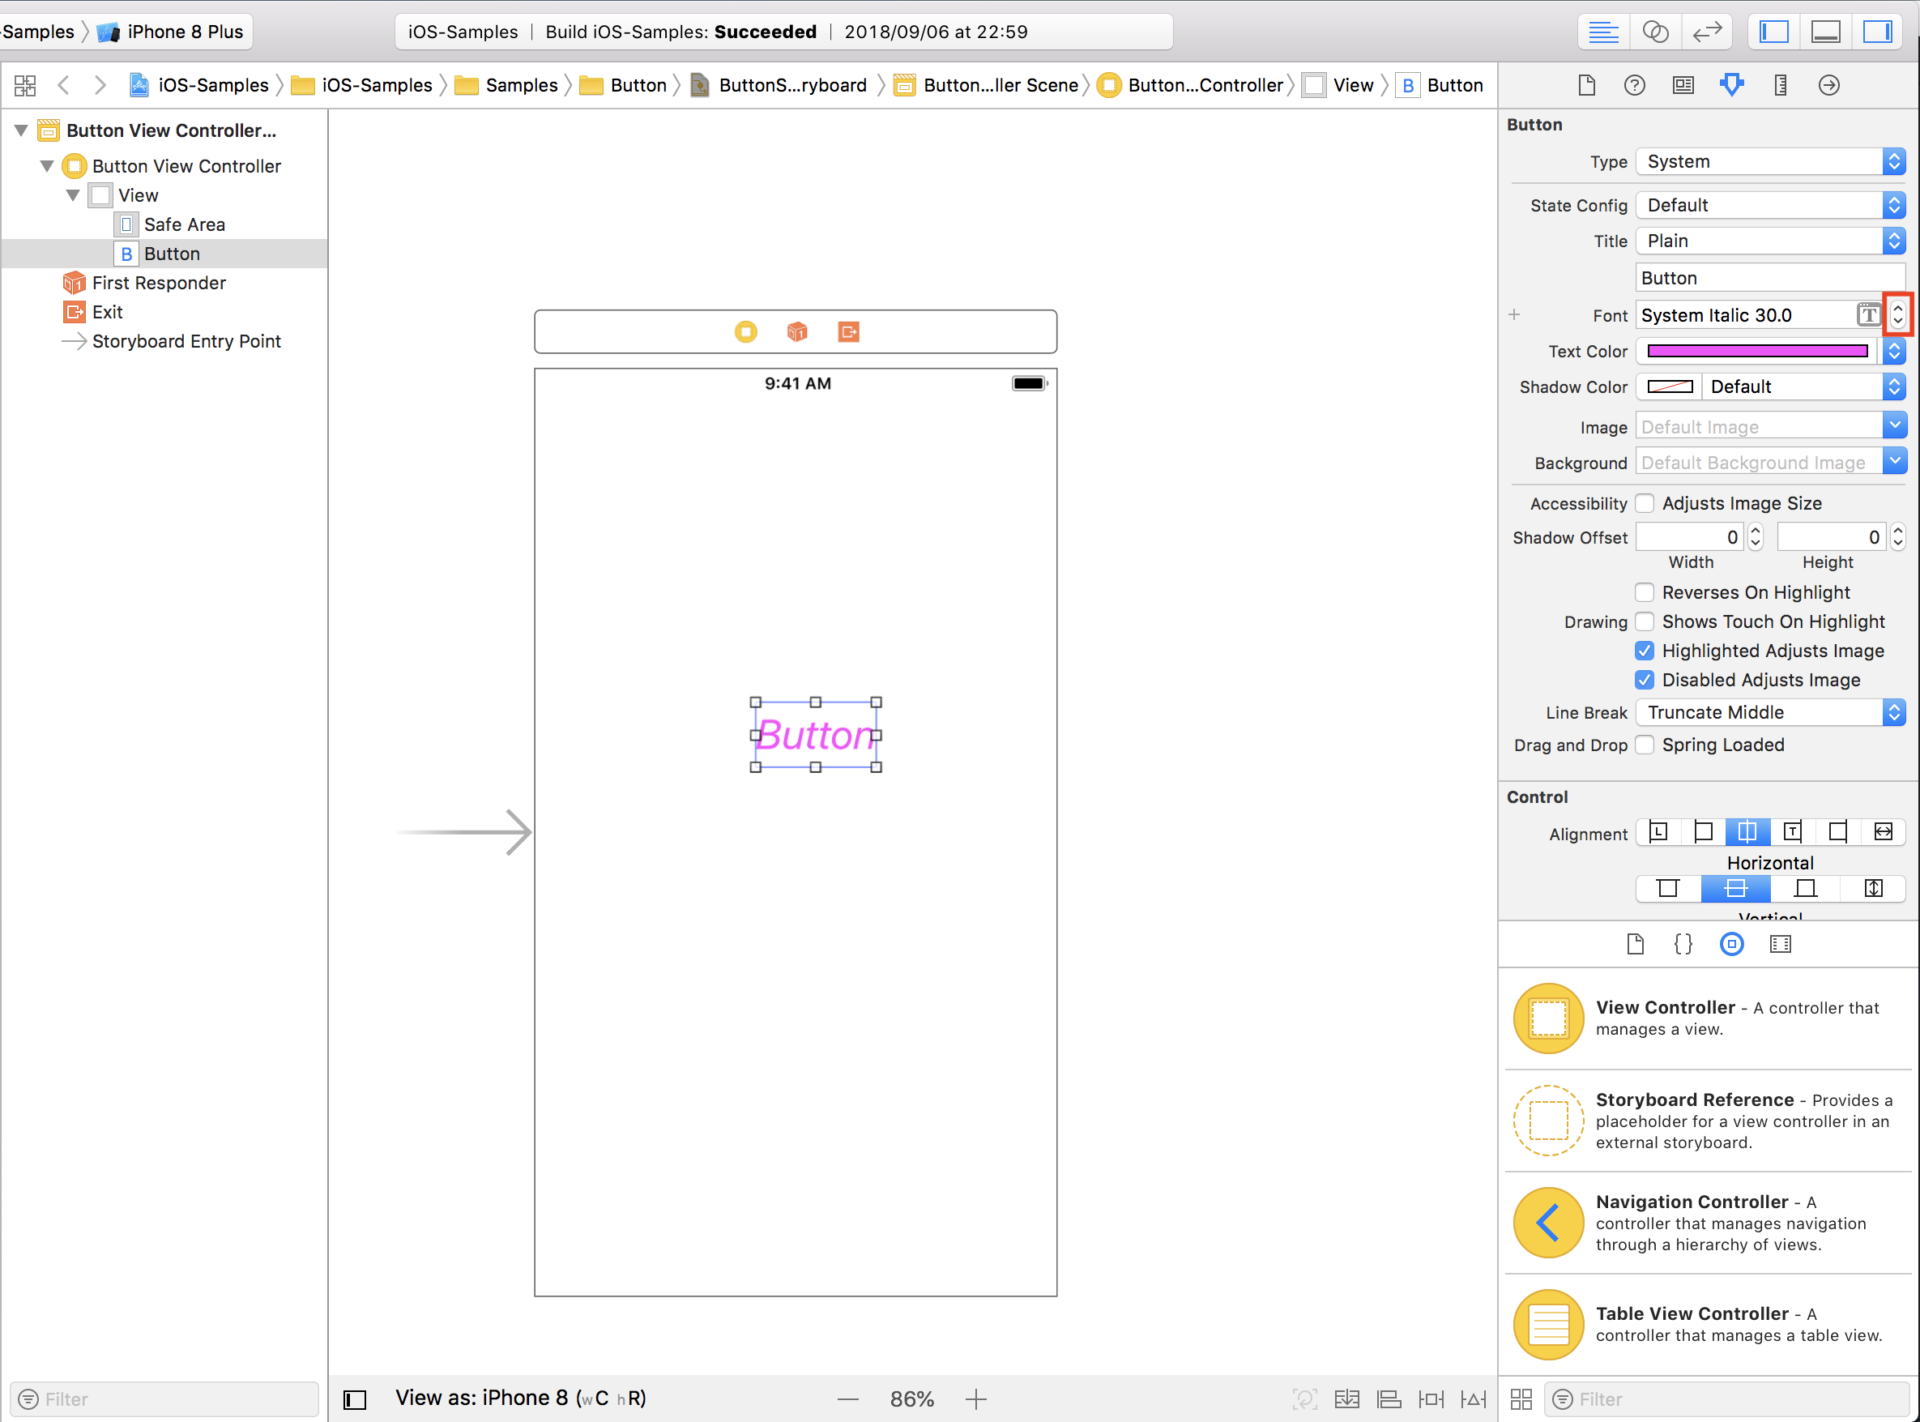
文字色の変更
文字色は「Color」という項目を選択すると色を選択するためのポップアップが表示されます。
ここから好きな色を選択しましょう。
今回はMagentaを選択しました。

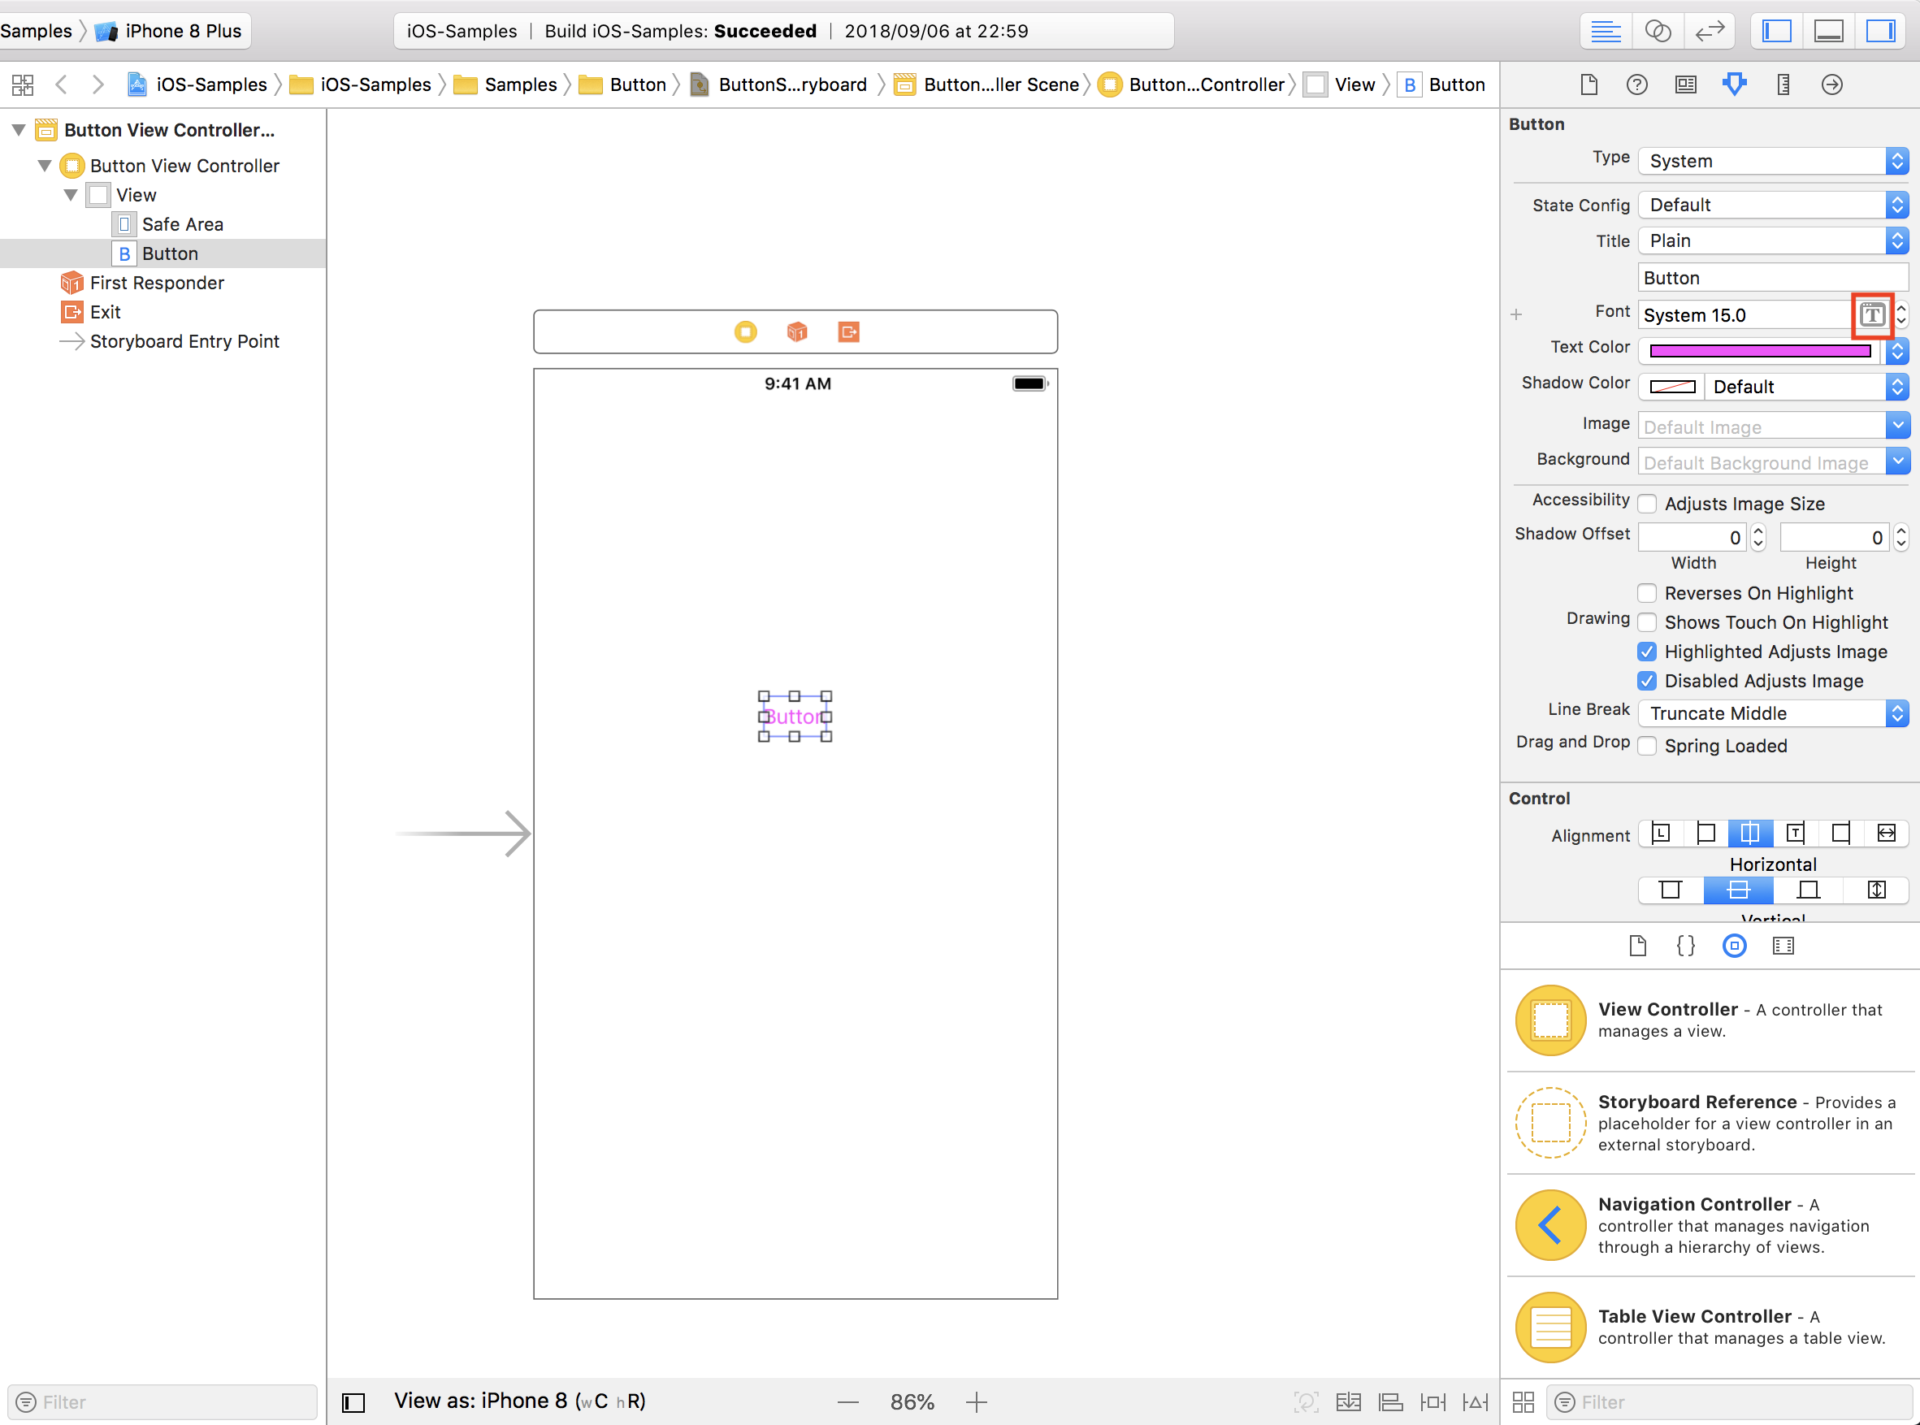
フォントの変更
フォントは「Font」という項目を選択するとフォント選択するためのポップアップが表示されます。
ここから好きなフォントを選択してください。
今回はSystem Italicを選択しました。
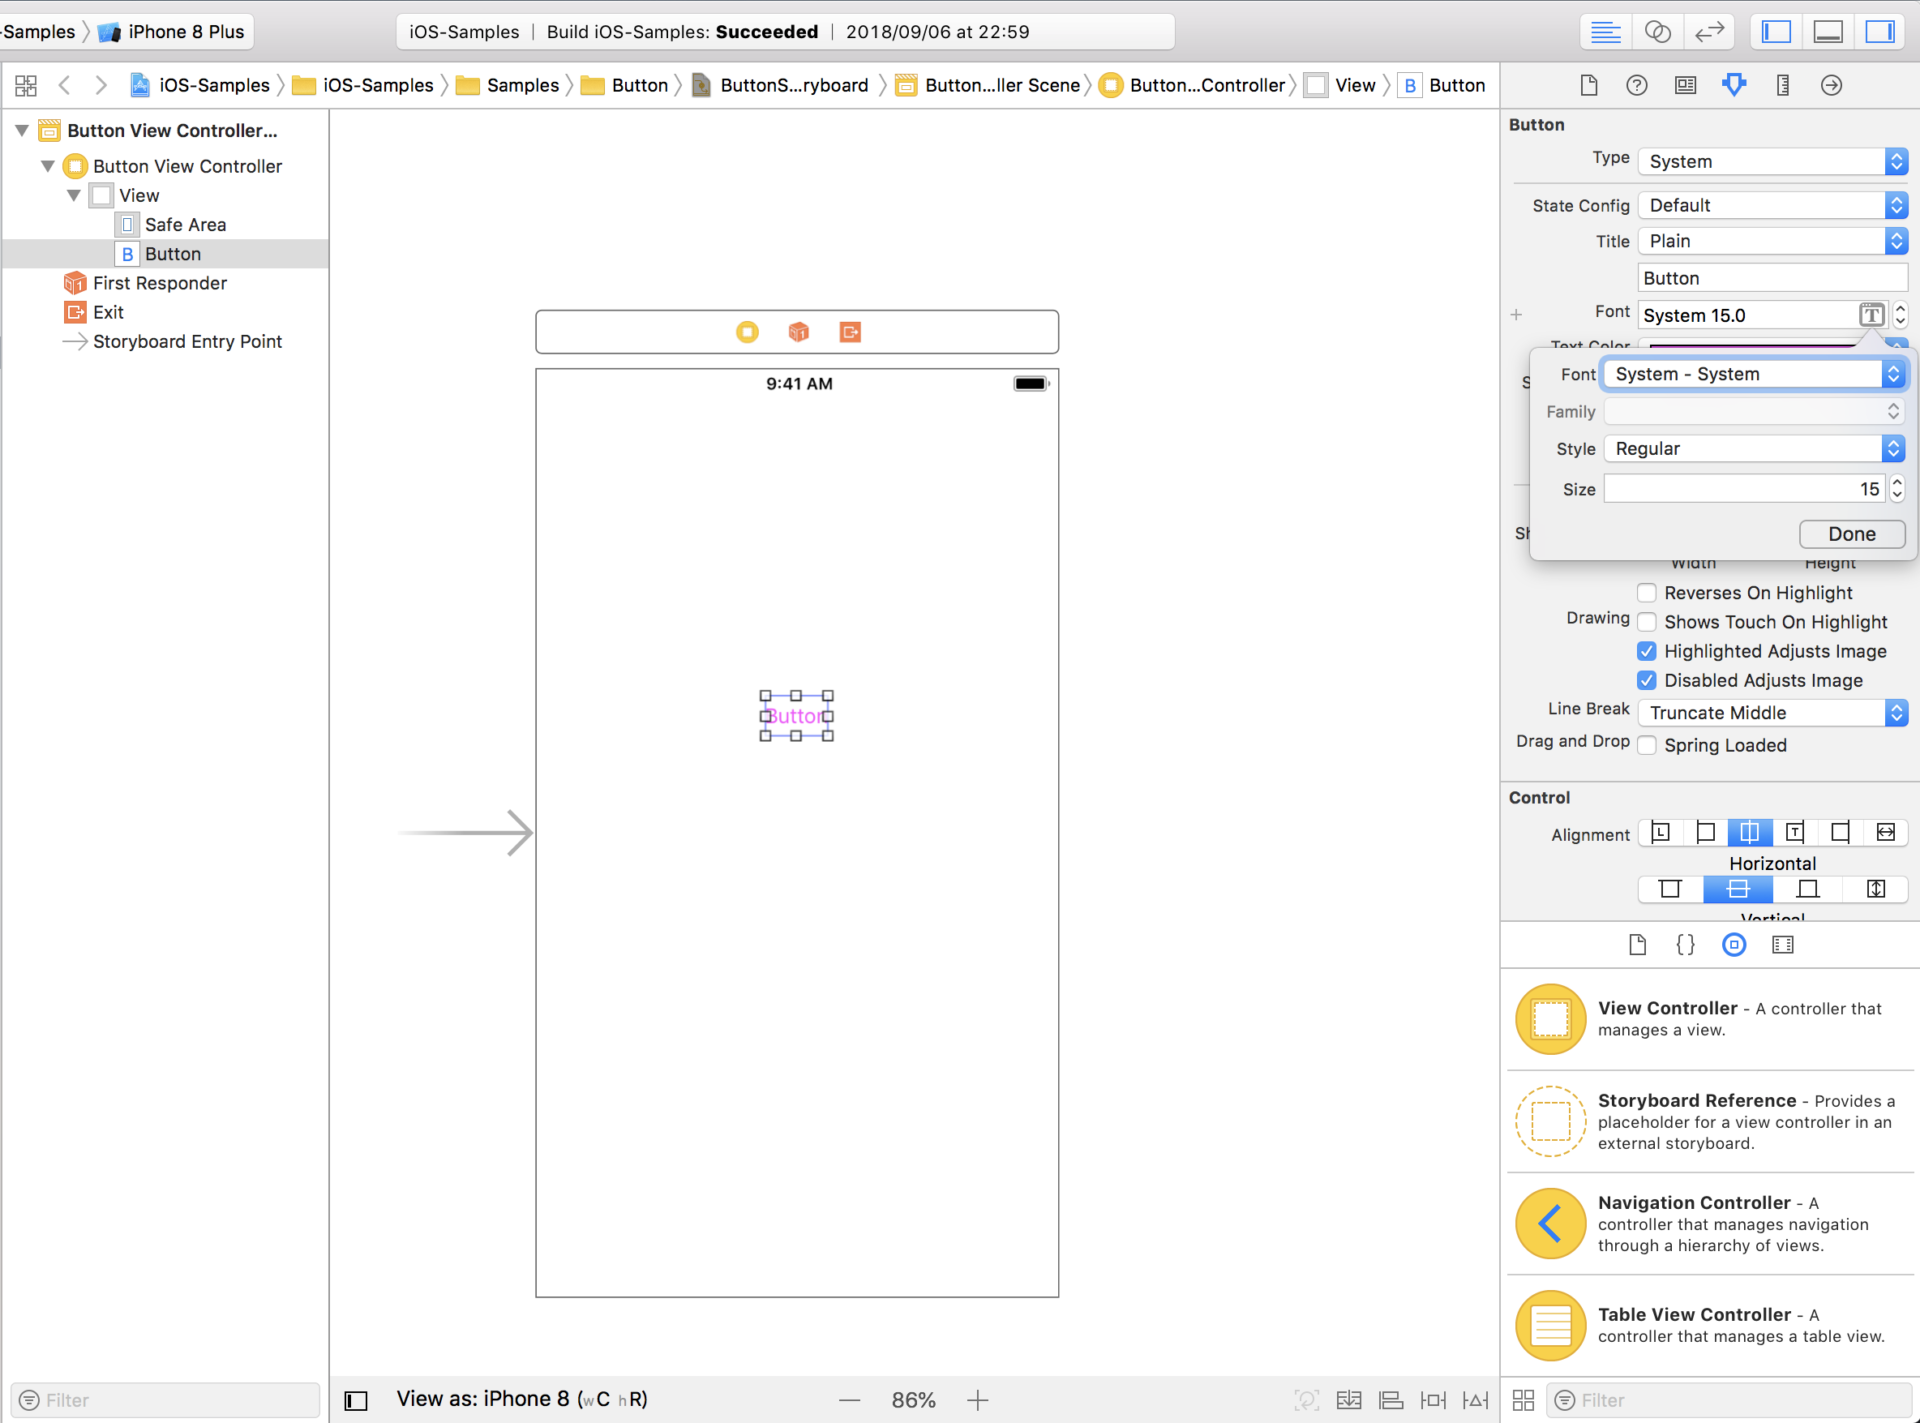
文字サイズ
文字サイズはFont項目の隣にあるバーから変更することができます。
今回は30にしました。
UIButtonの使い方まとめ
今回はストーリーボードを使ったUIButtonの基本的な使い方について説明しました。
UIButtonはどんなアプリでも使用する重要なViewの1つです。
必ず使えるようにしておきましょう!